How to edit videos for Instagram in 2024
By
Duaa Shahzad
— 7 minutes read
|
Published on
November 22, 2024
Table of Contents
Did you know Instagram has built-in tools to edit videos into Reels, Stories and more in a flash? For more customization options, advanced editors like Flowjin (or others) can help!
If you want to start creating videos on Instagram, this guide will show you how to edit Instagram videos for different needs and create show-stopping content.
How to edit Instagram Reels
Instagram Reels are short-form videos, usually 16-50 seconds long and filmed in a vertical format (9:16) for mobile viewing. Reels are the primary form of content on the platform since they are displayed across users’ feeds, profiles and the Reels tab. Users share memorable moments, stories and tutorials through Reels. This format is for you if you want to engage with your followers and reach a new audience.
To open the Instagram Reels editor:
- Open the Instagram app and tap the "+" icon at the bottom of your screen.
- Slide to “Reel” and choose a video from your camera roll.
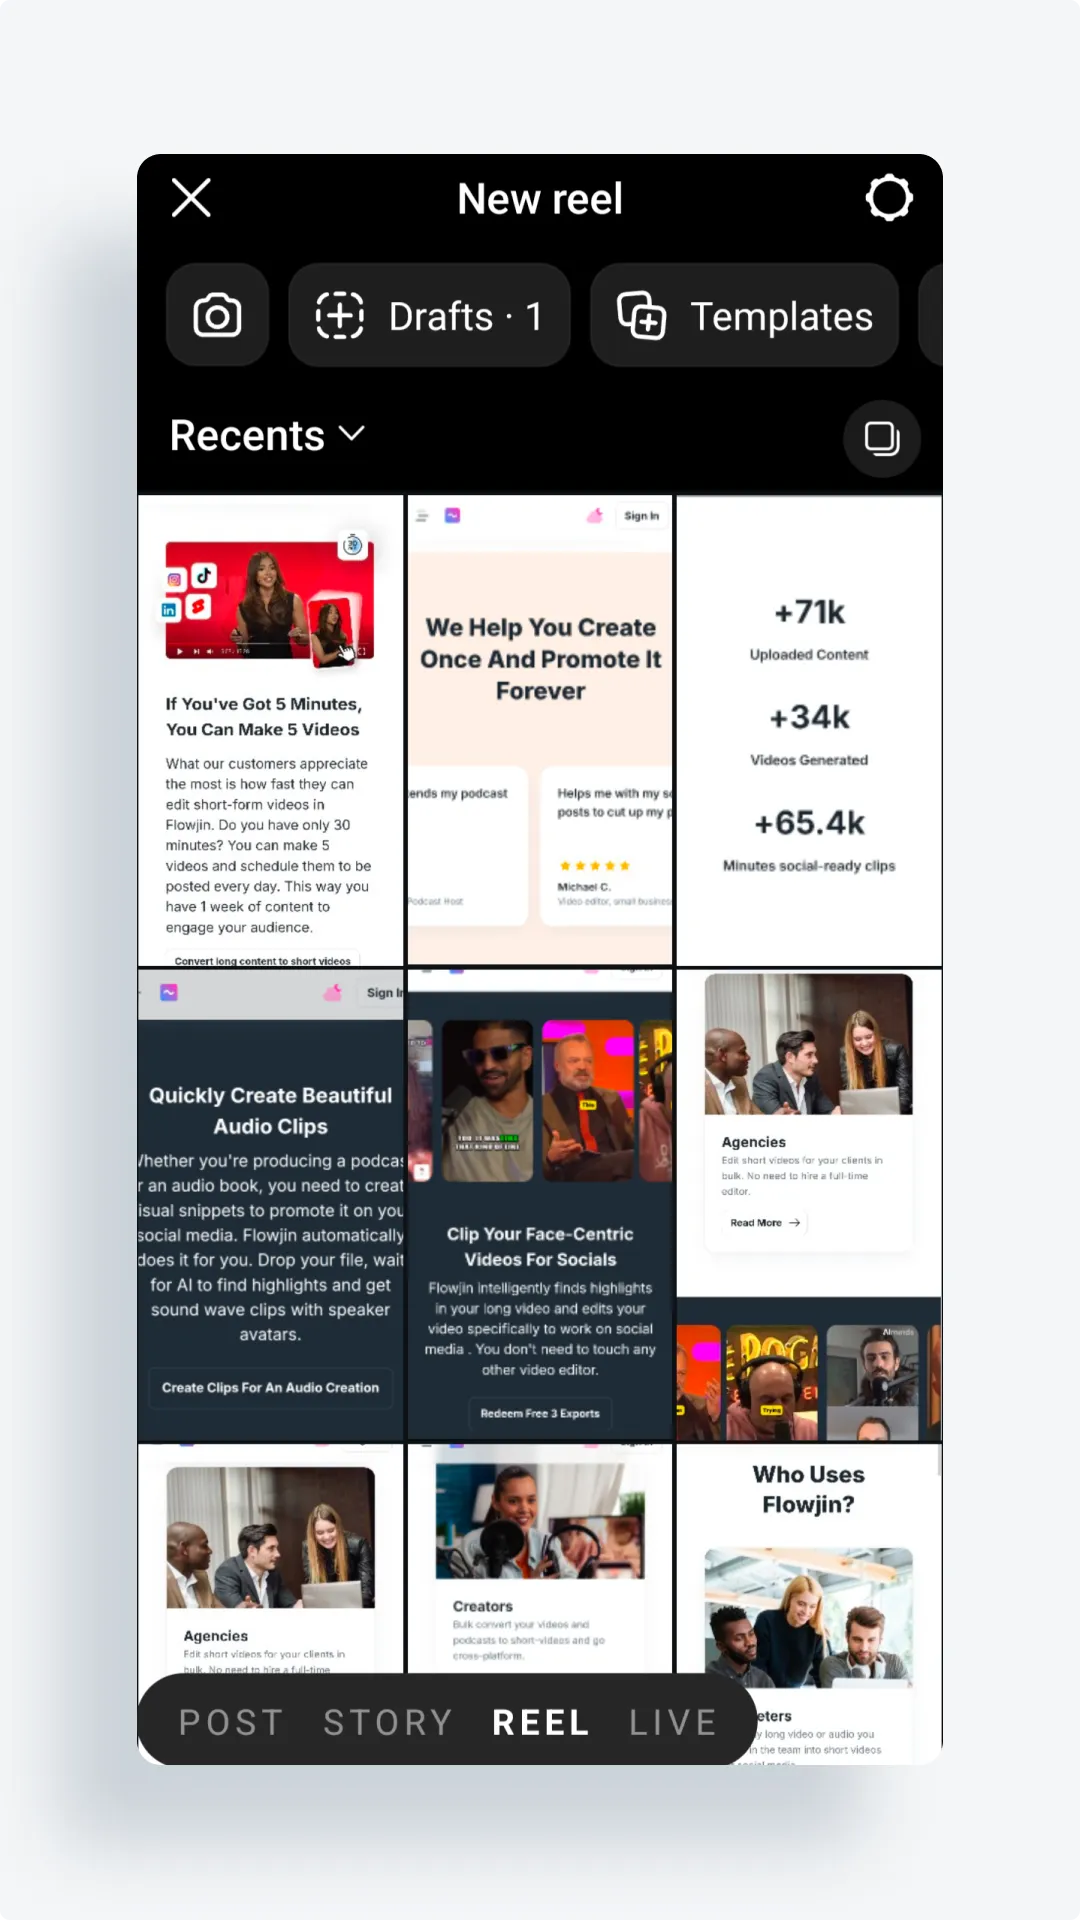
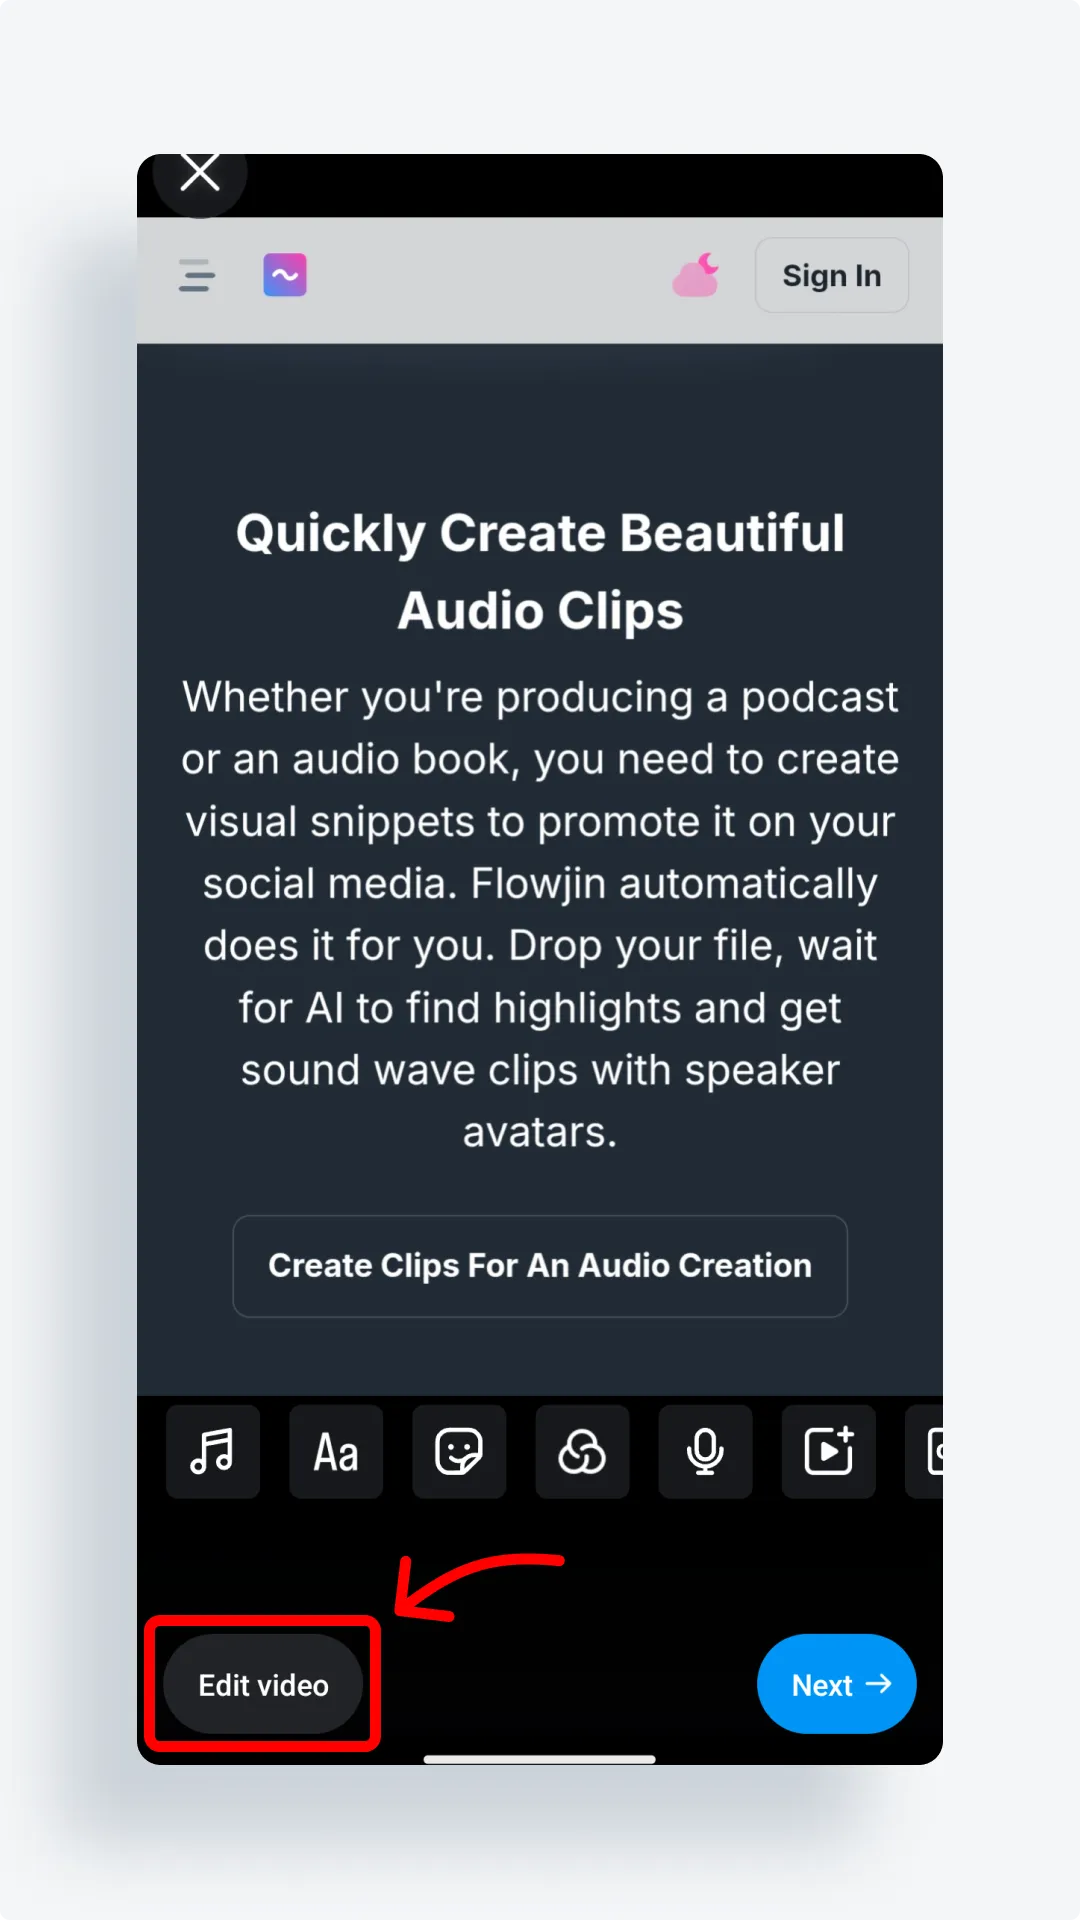
- Select “Edit Video” to see editing options for your Reel:
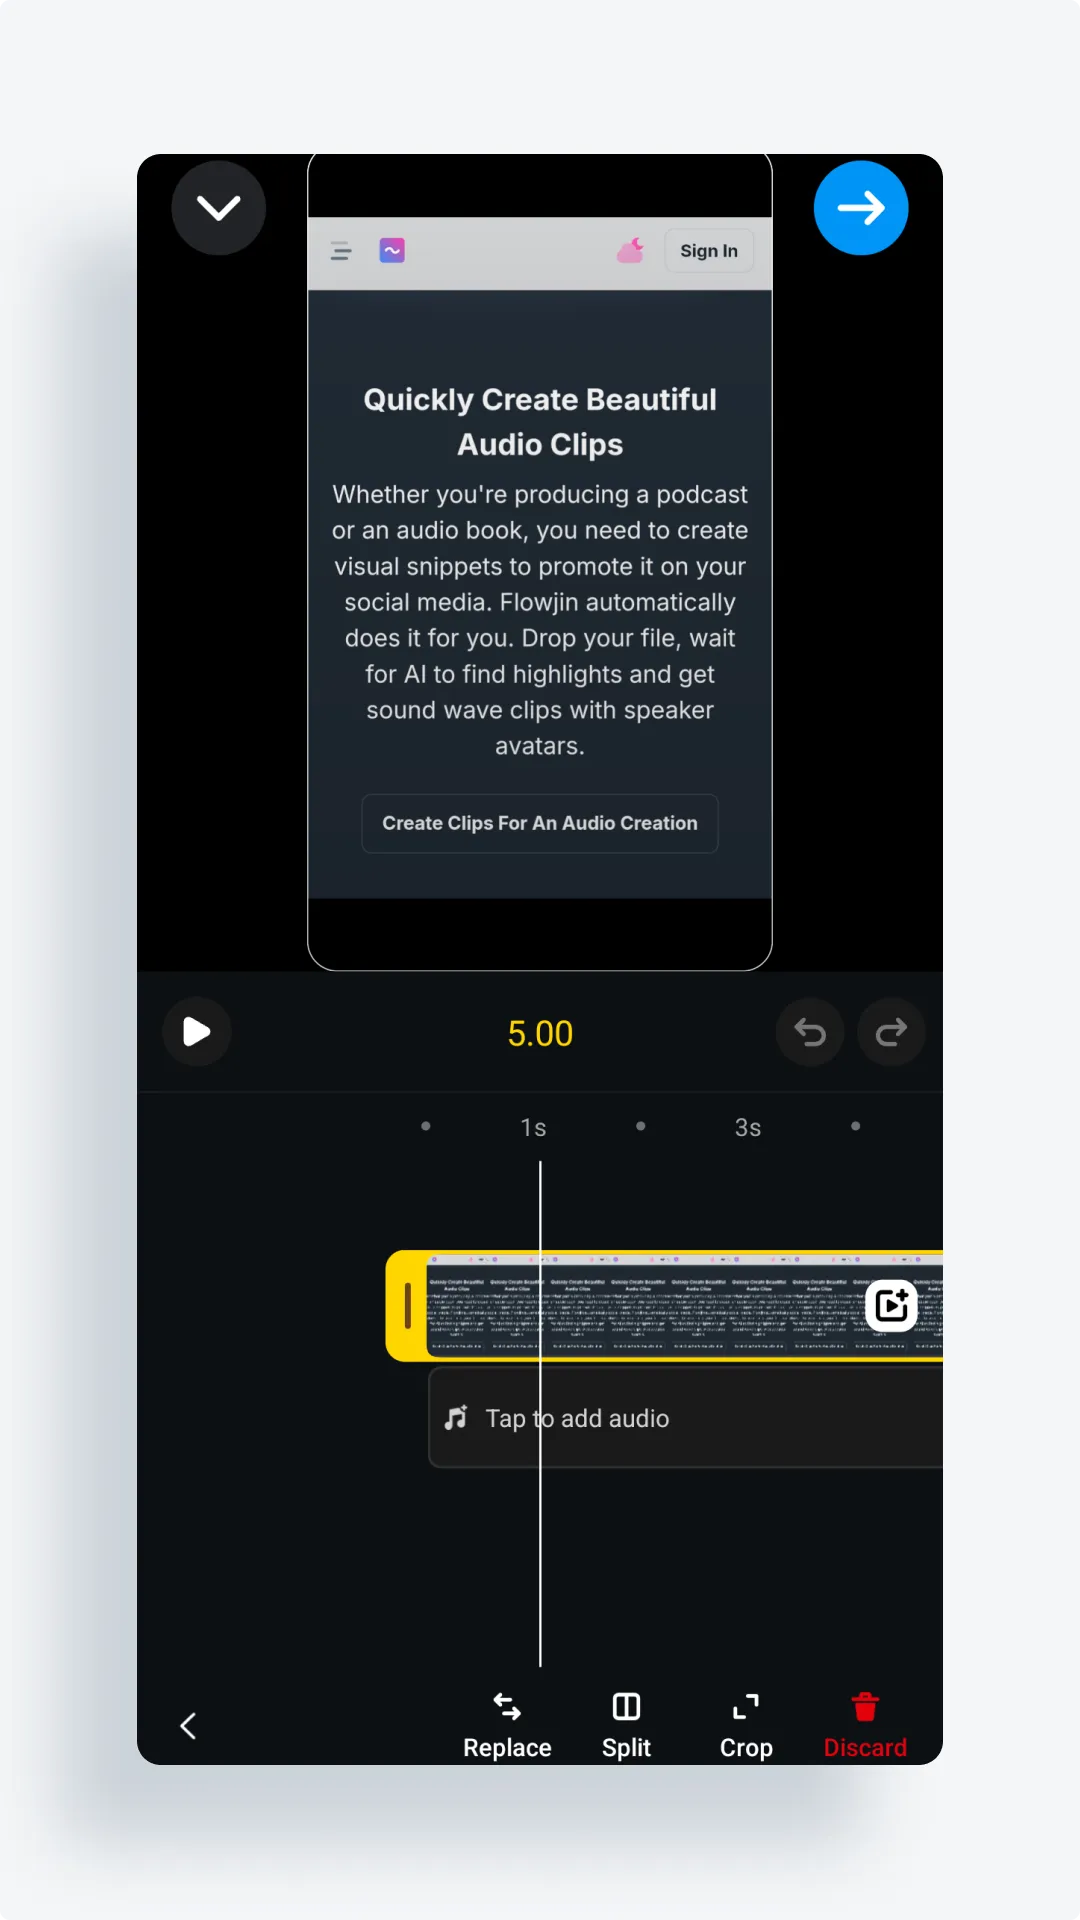
- Edit: Tap the scissors icon to trim, crop or replace part of a clip.
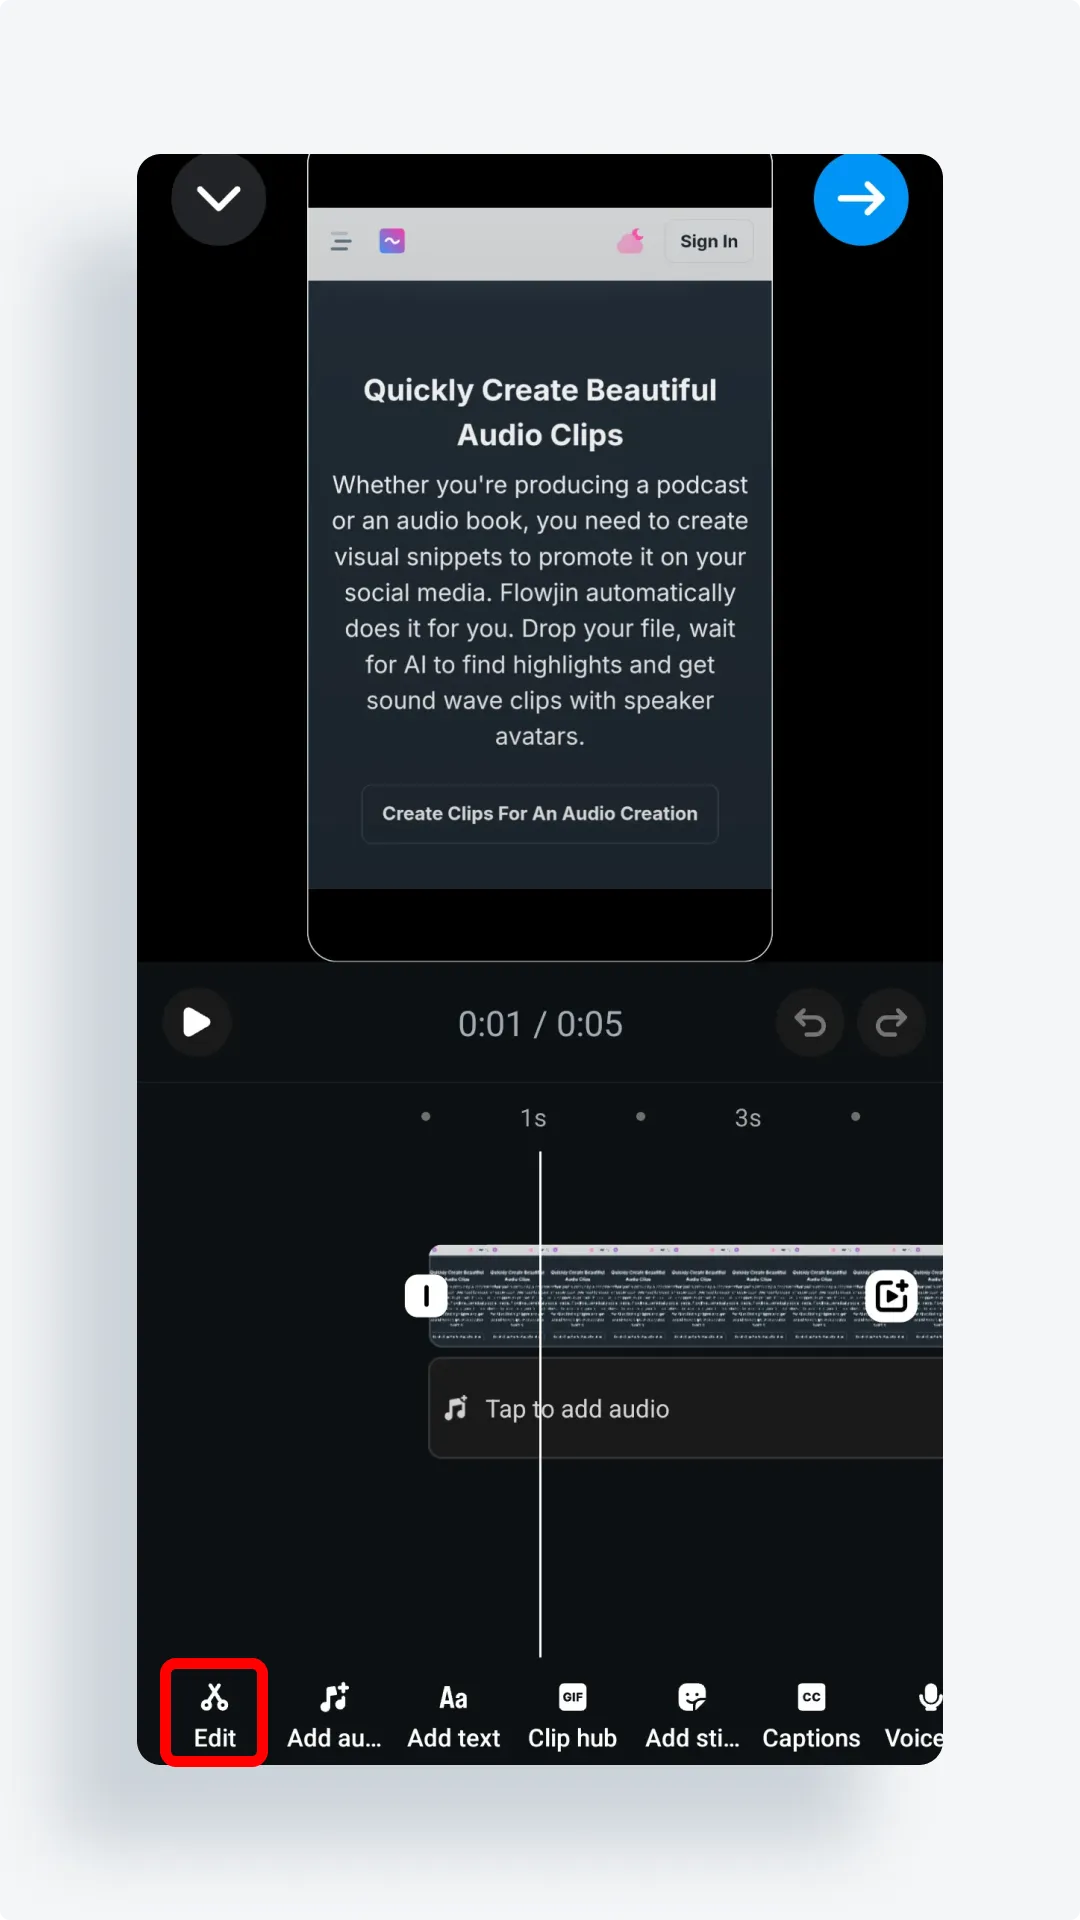
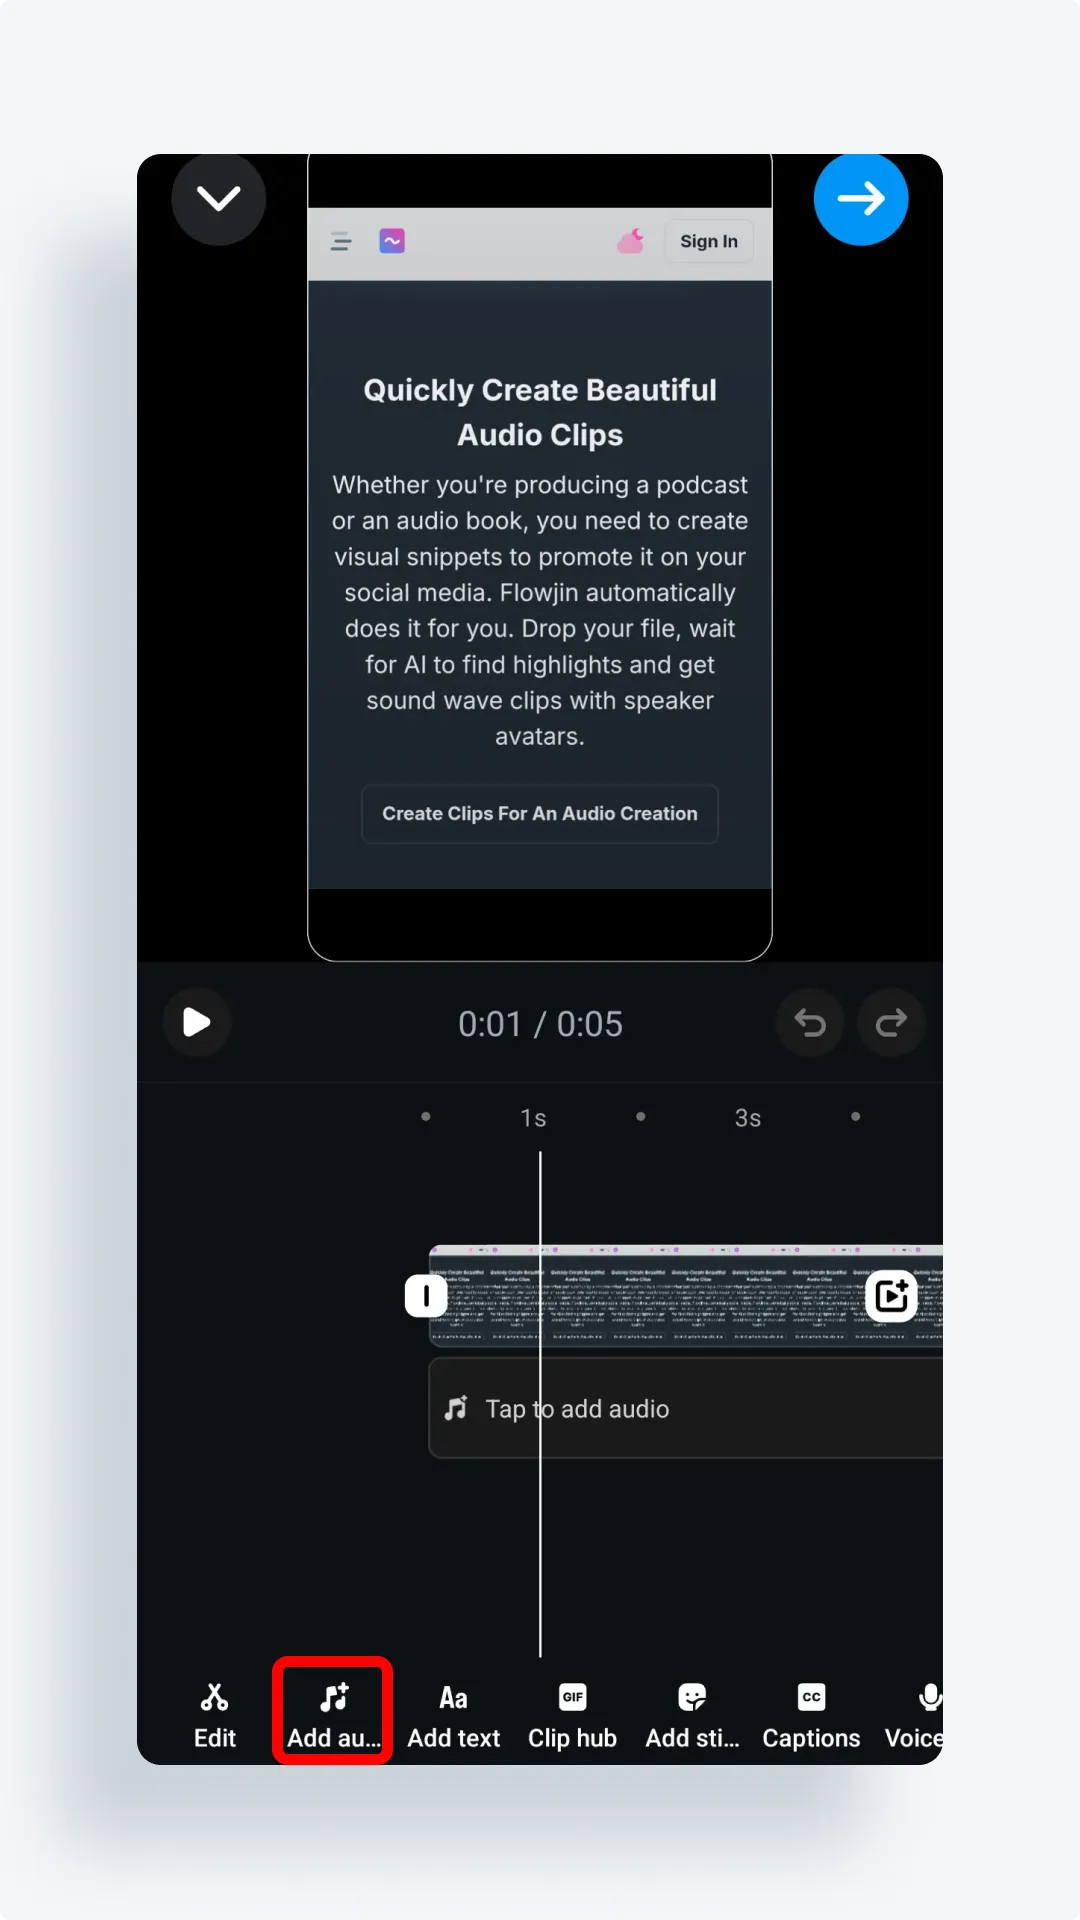
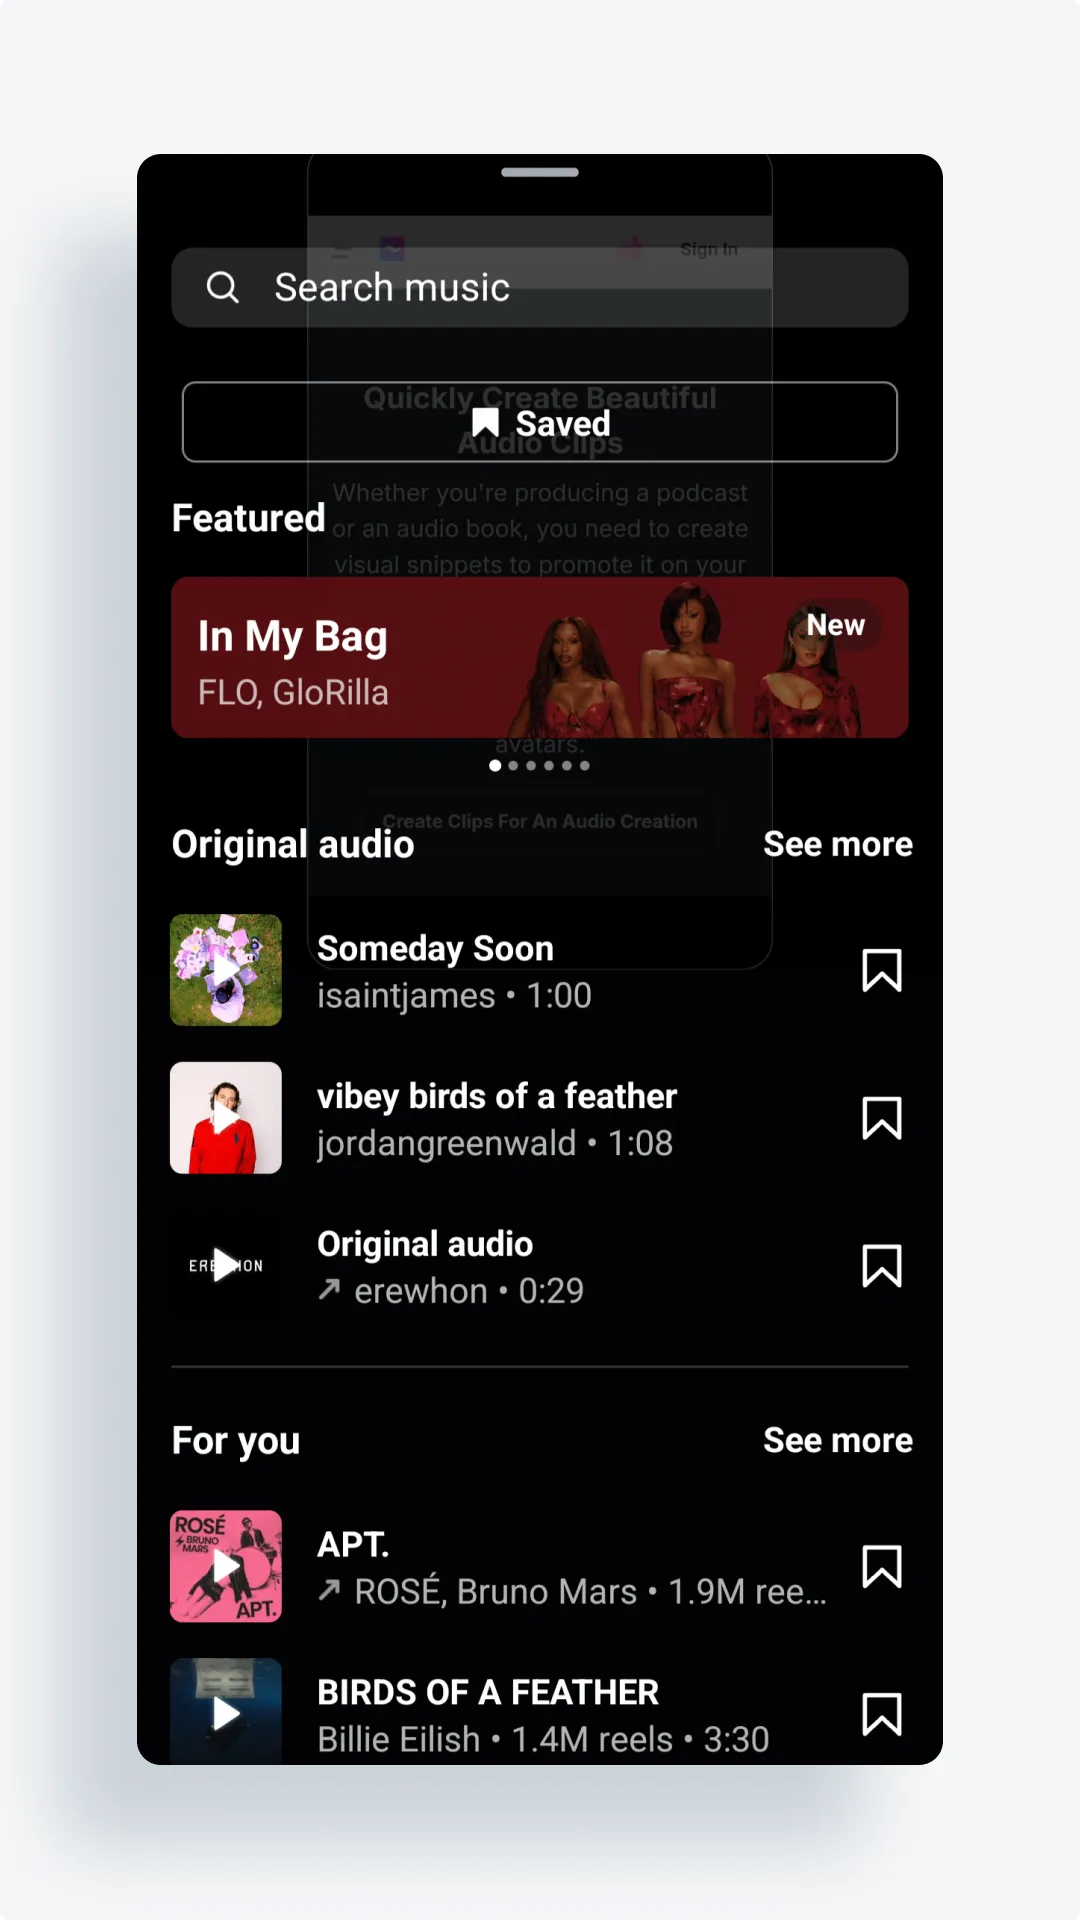
- Music: Tap the Add Audio icon to add audio.
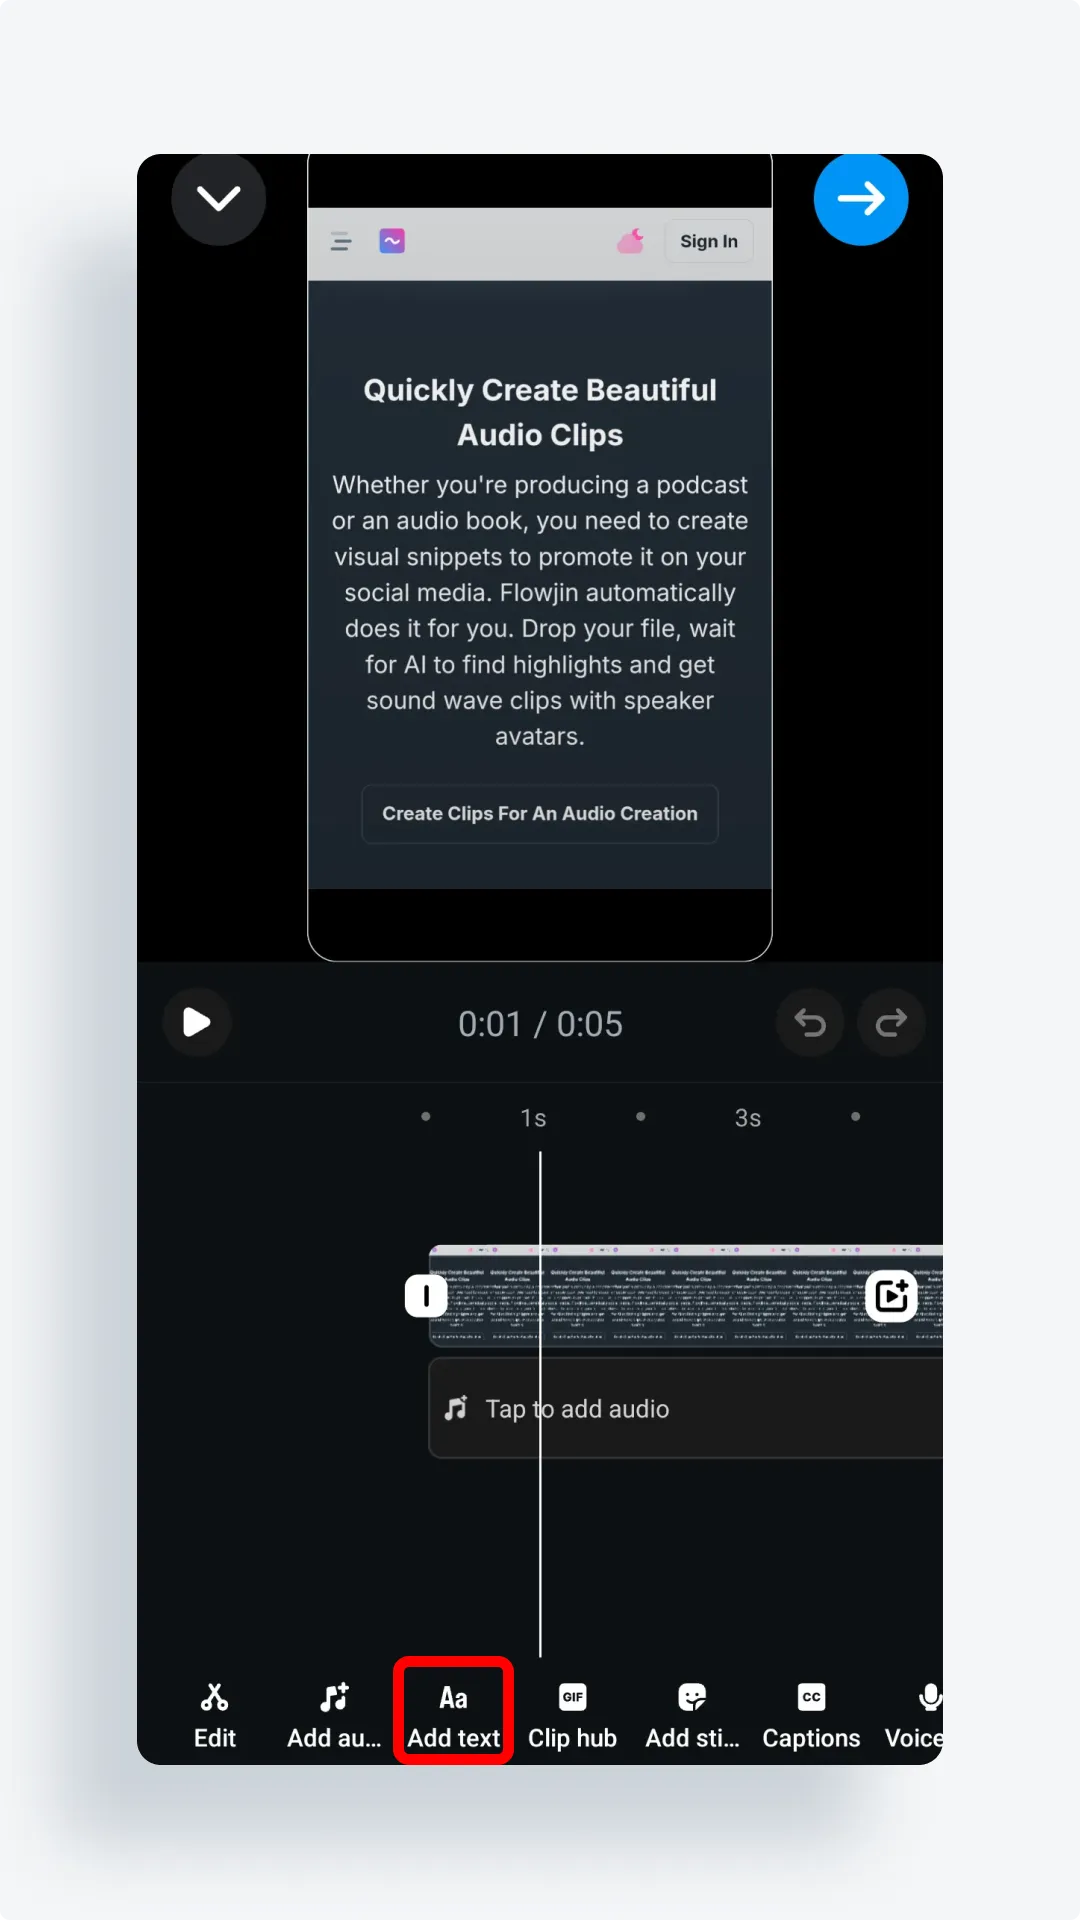
- Text: Tap the Add text icon to write text.
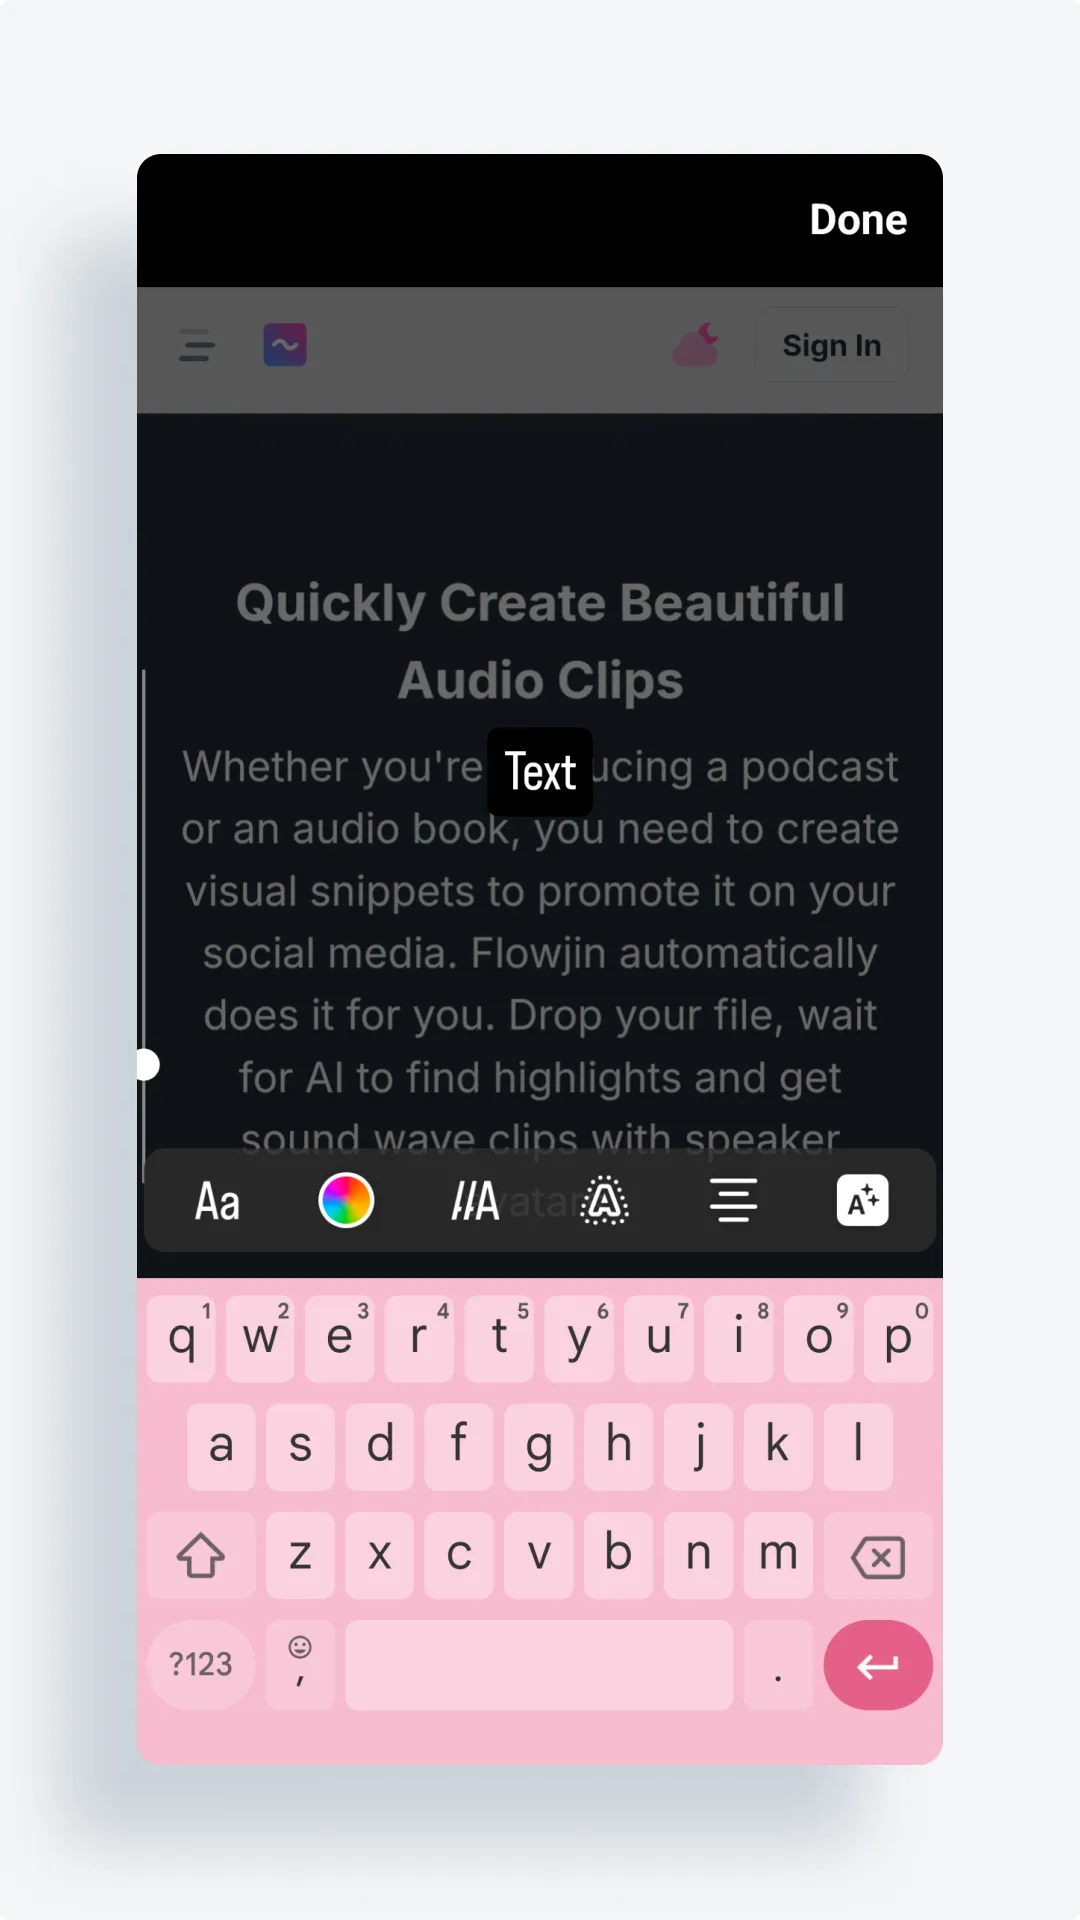
- Choose from the following text options:
- Colour: Choose the rainbow circle icon to change the text colour.
- Animation: Choose the AAA icon to animate text.
- Effects: Choose the outlined A icon to add text effects.
- Alignment: Choose the lines icon to align your text left, centre or right.
- Outline: Choose the Text box icon to outline text. Tap multiple times for a different look
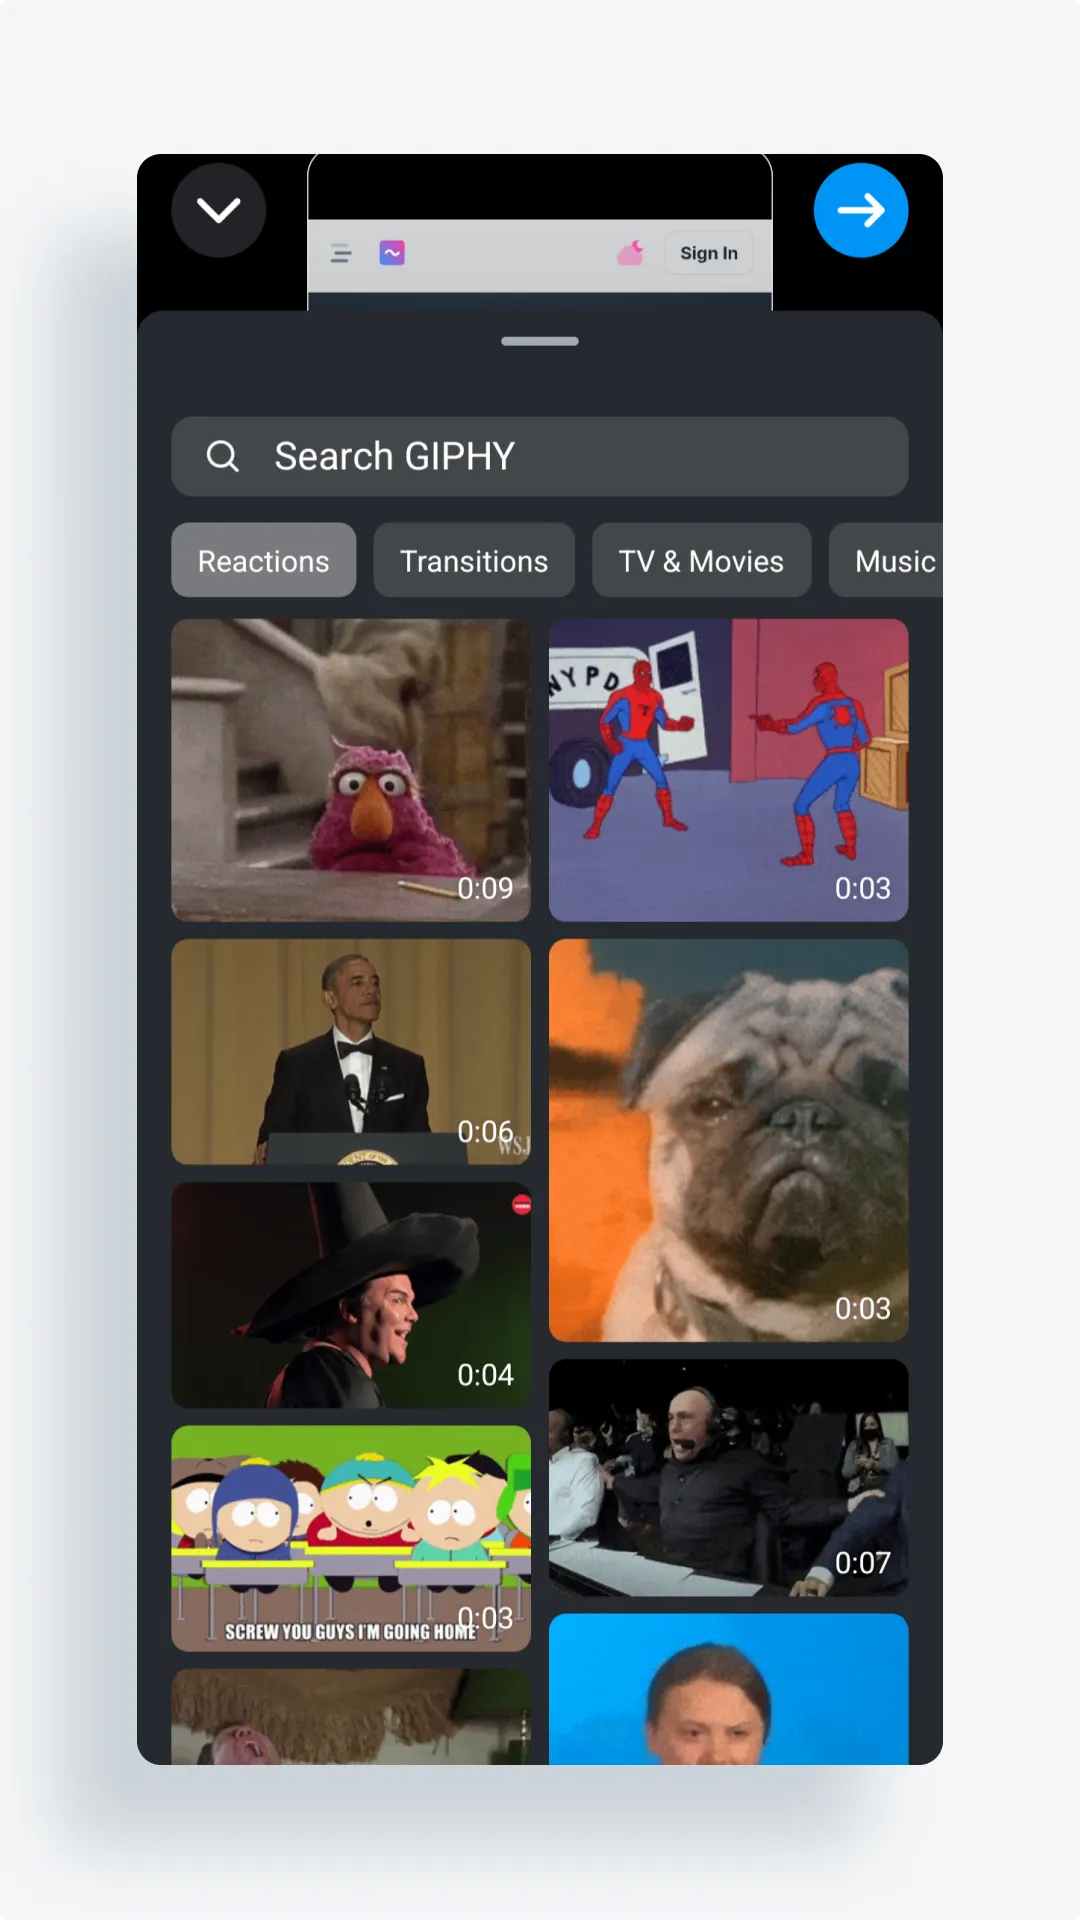
- GIFs: Tap the Clip hub icon to add stickers like cut-outs, location tags, hashtags, polls, countdowns or music.

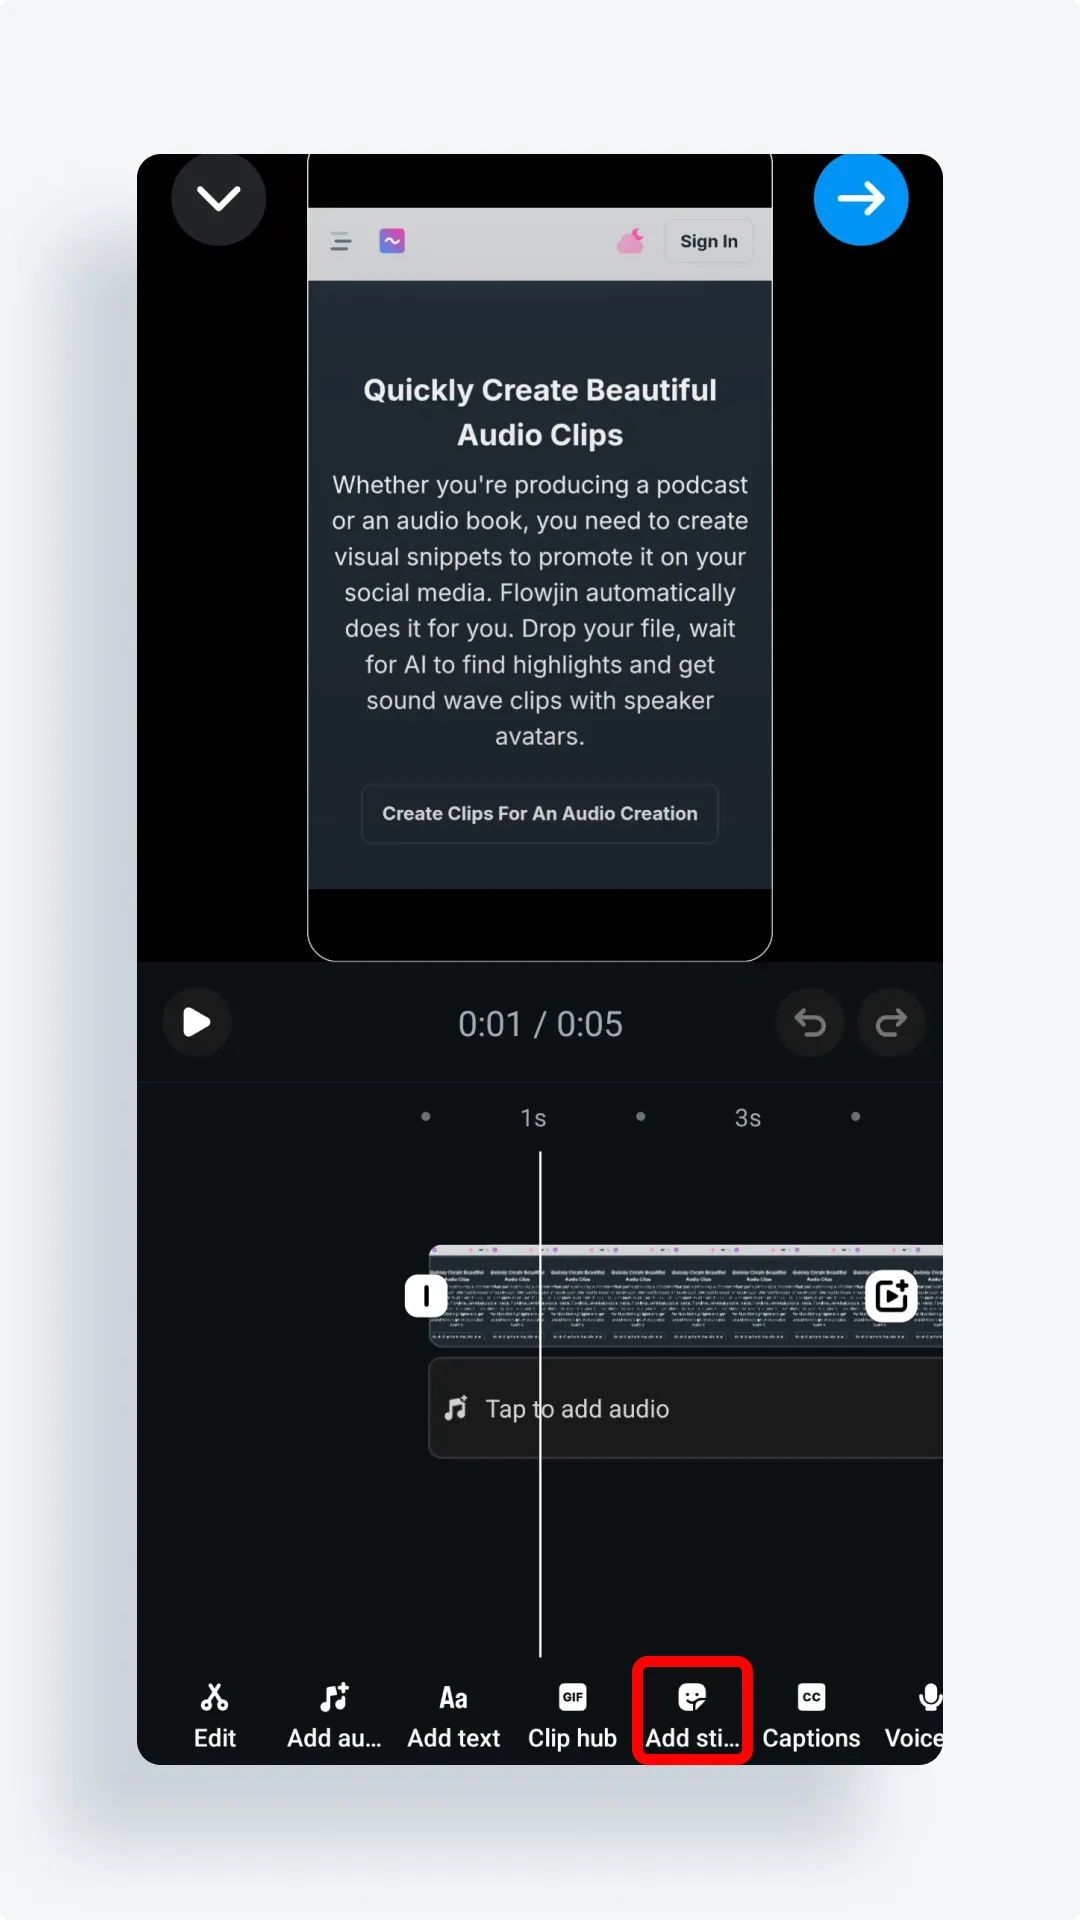
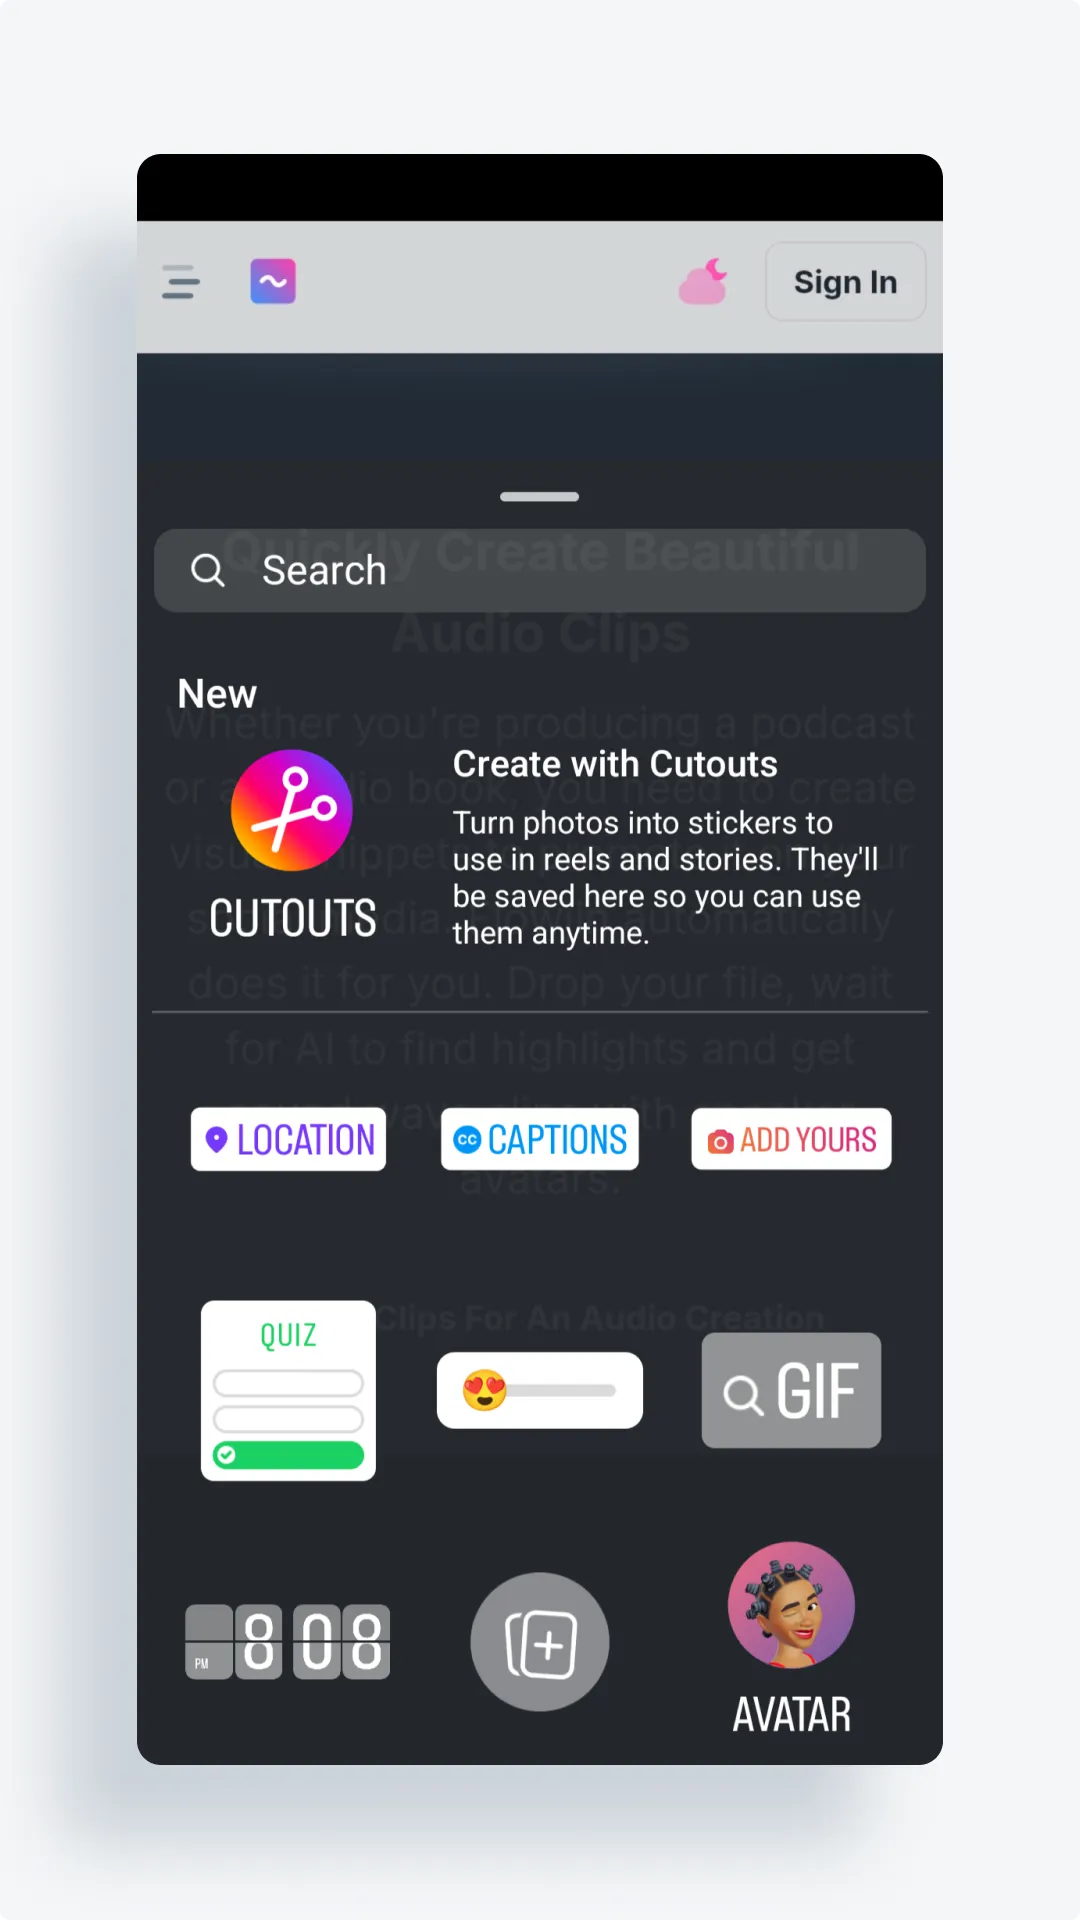
- Stickers: Tap the smiley icon to add stickers like cut-outs, location tags, hashtags, polls, countdowns or music.
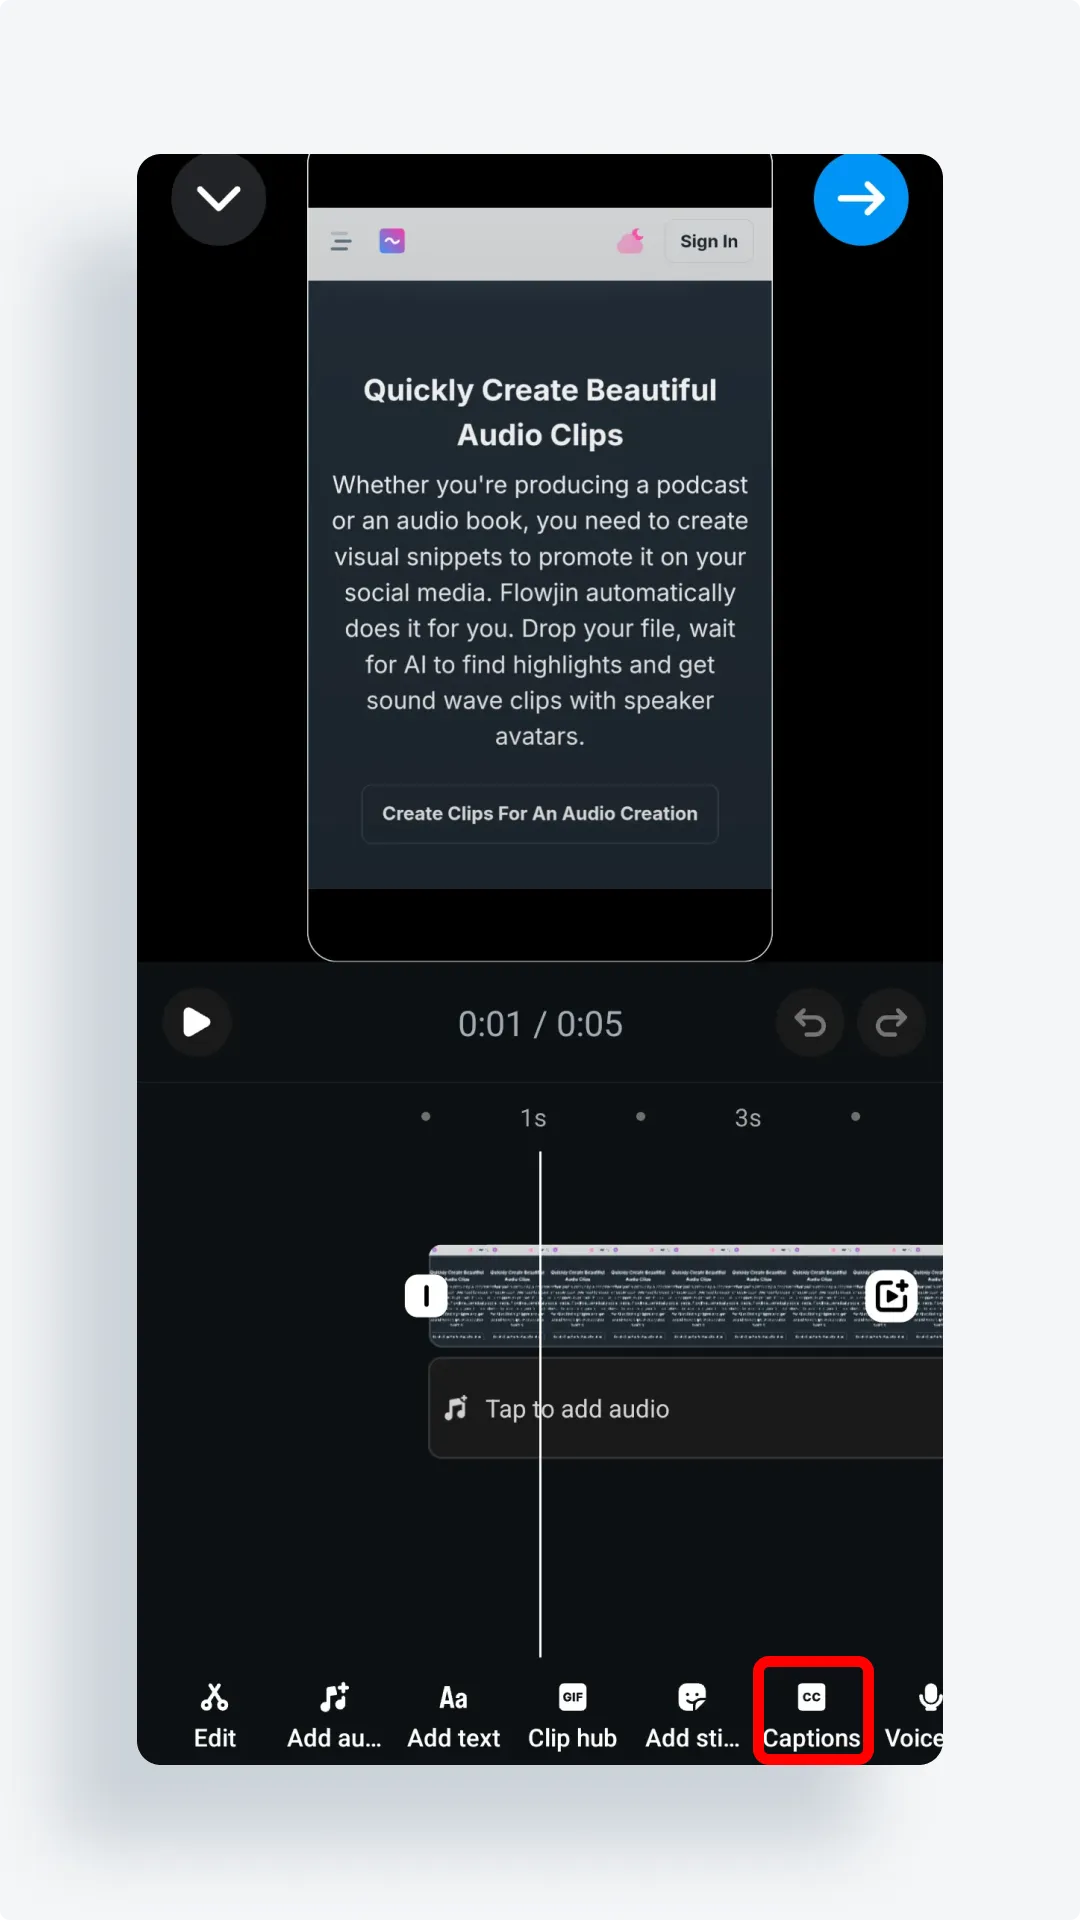
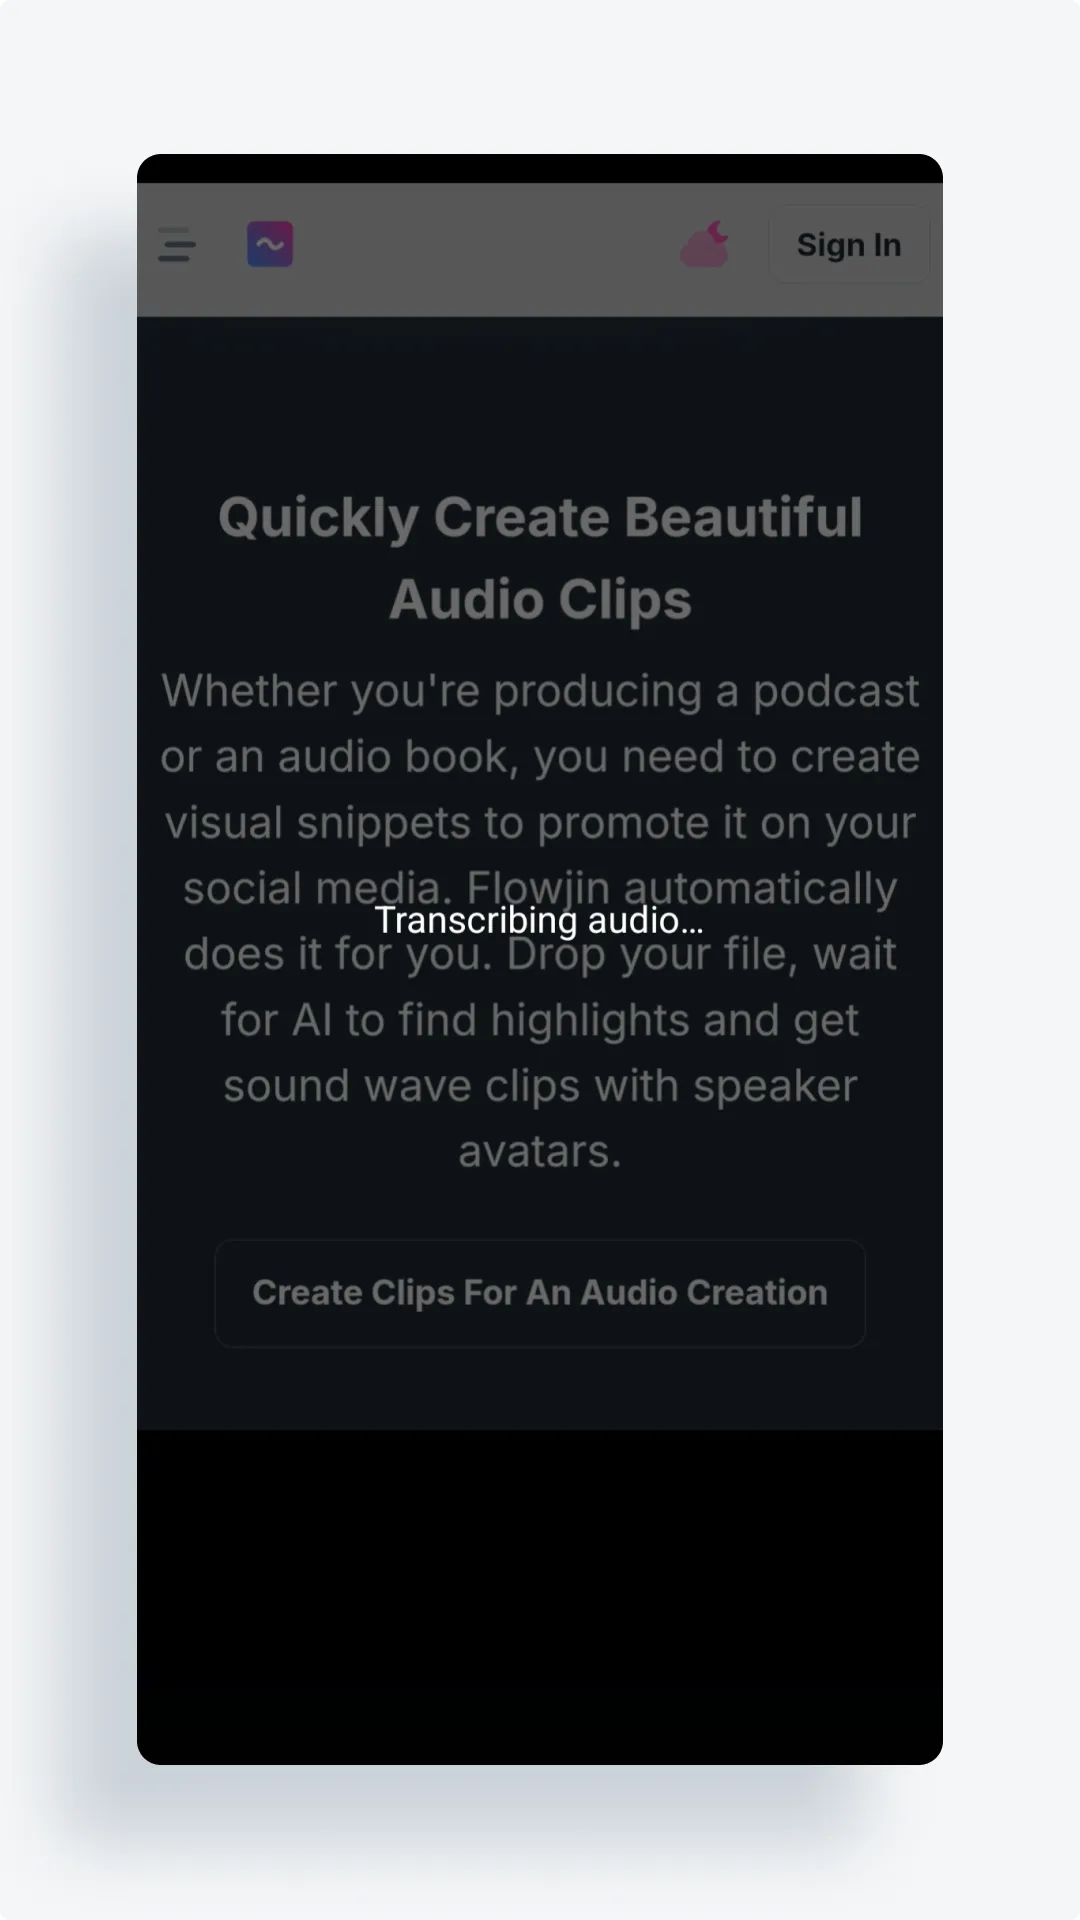
- Closed Captions: Tap the CC icon to transcribe audio.
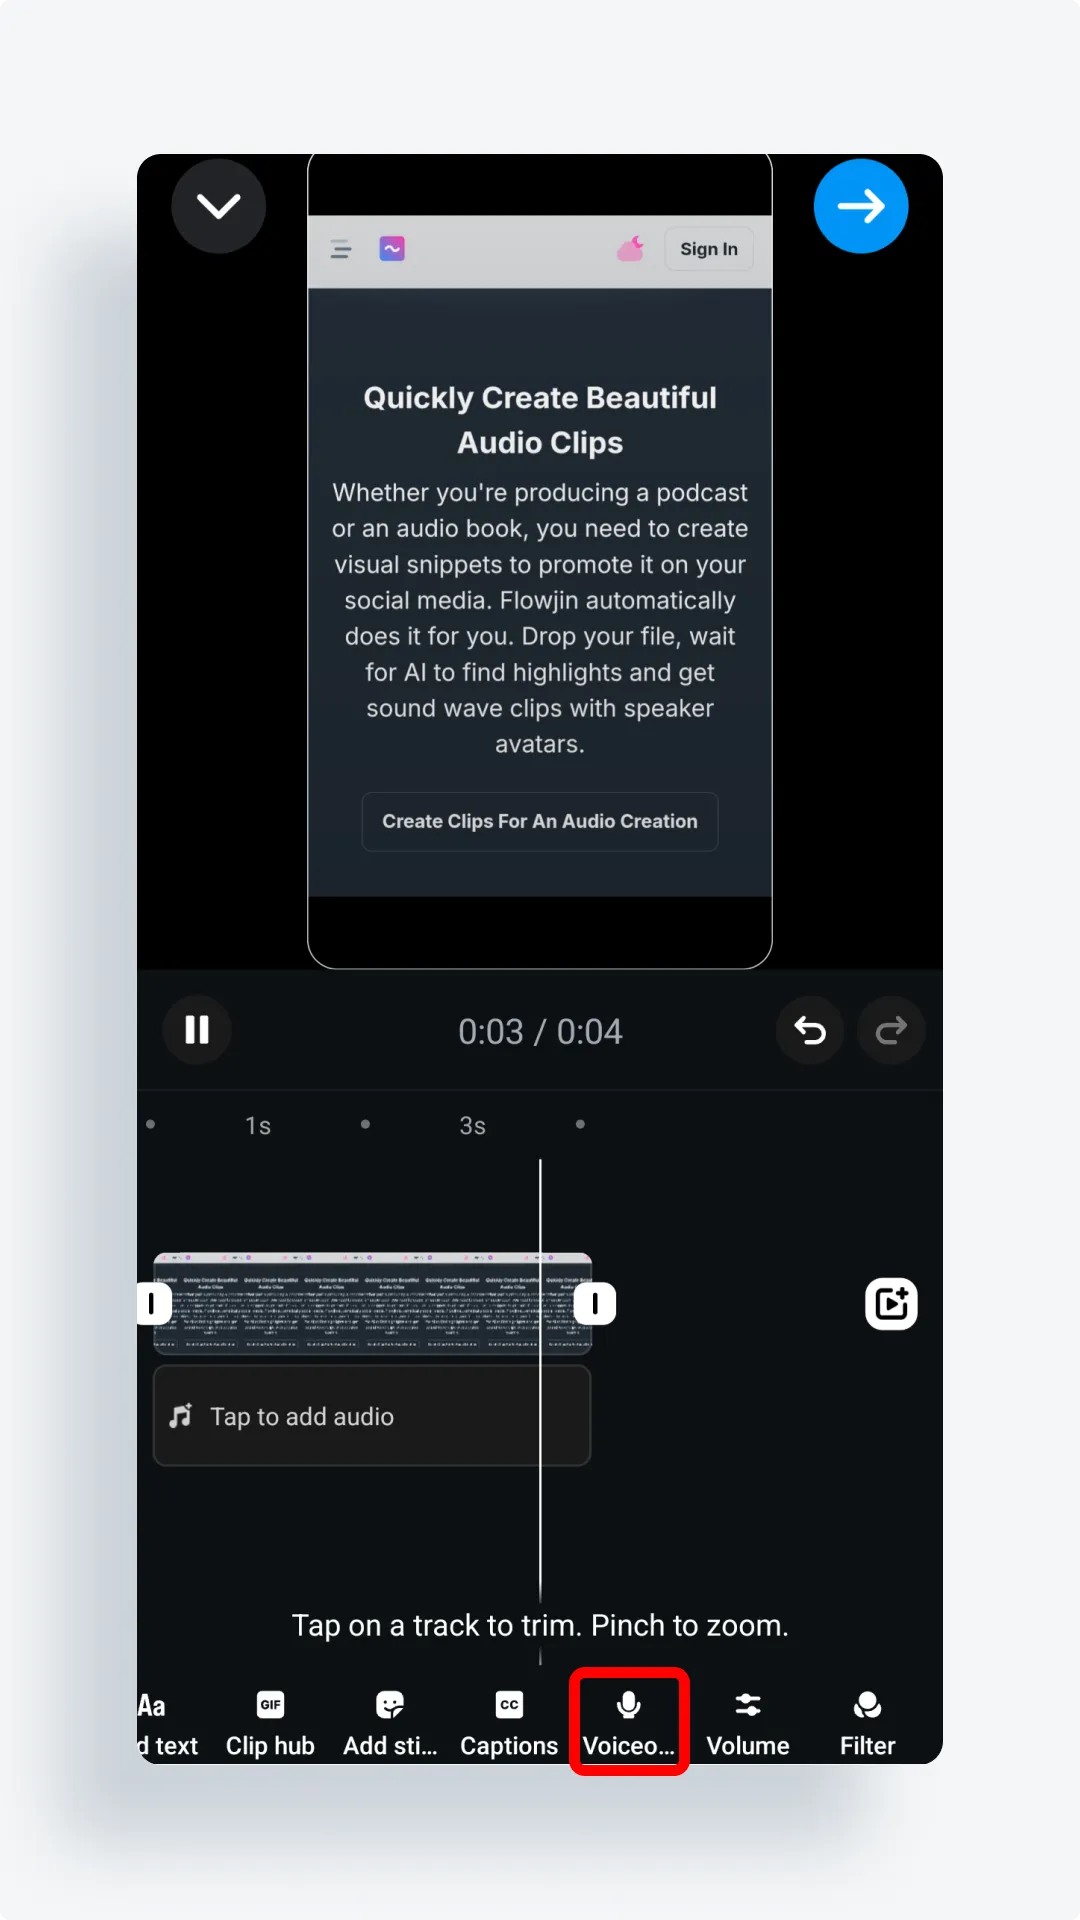
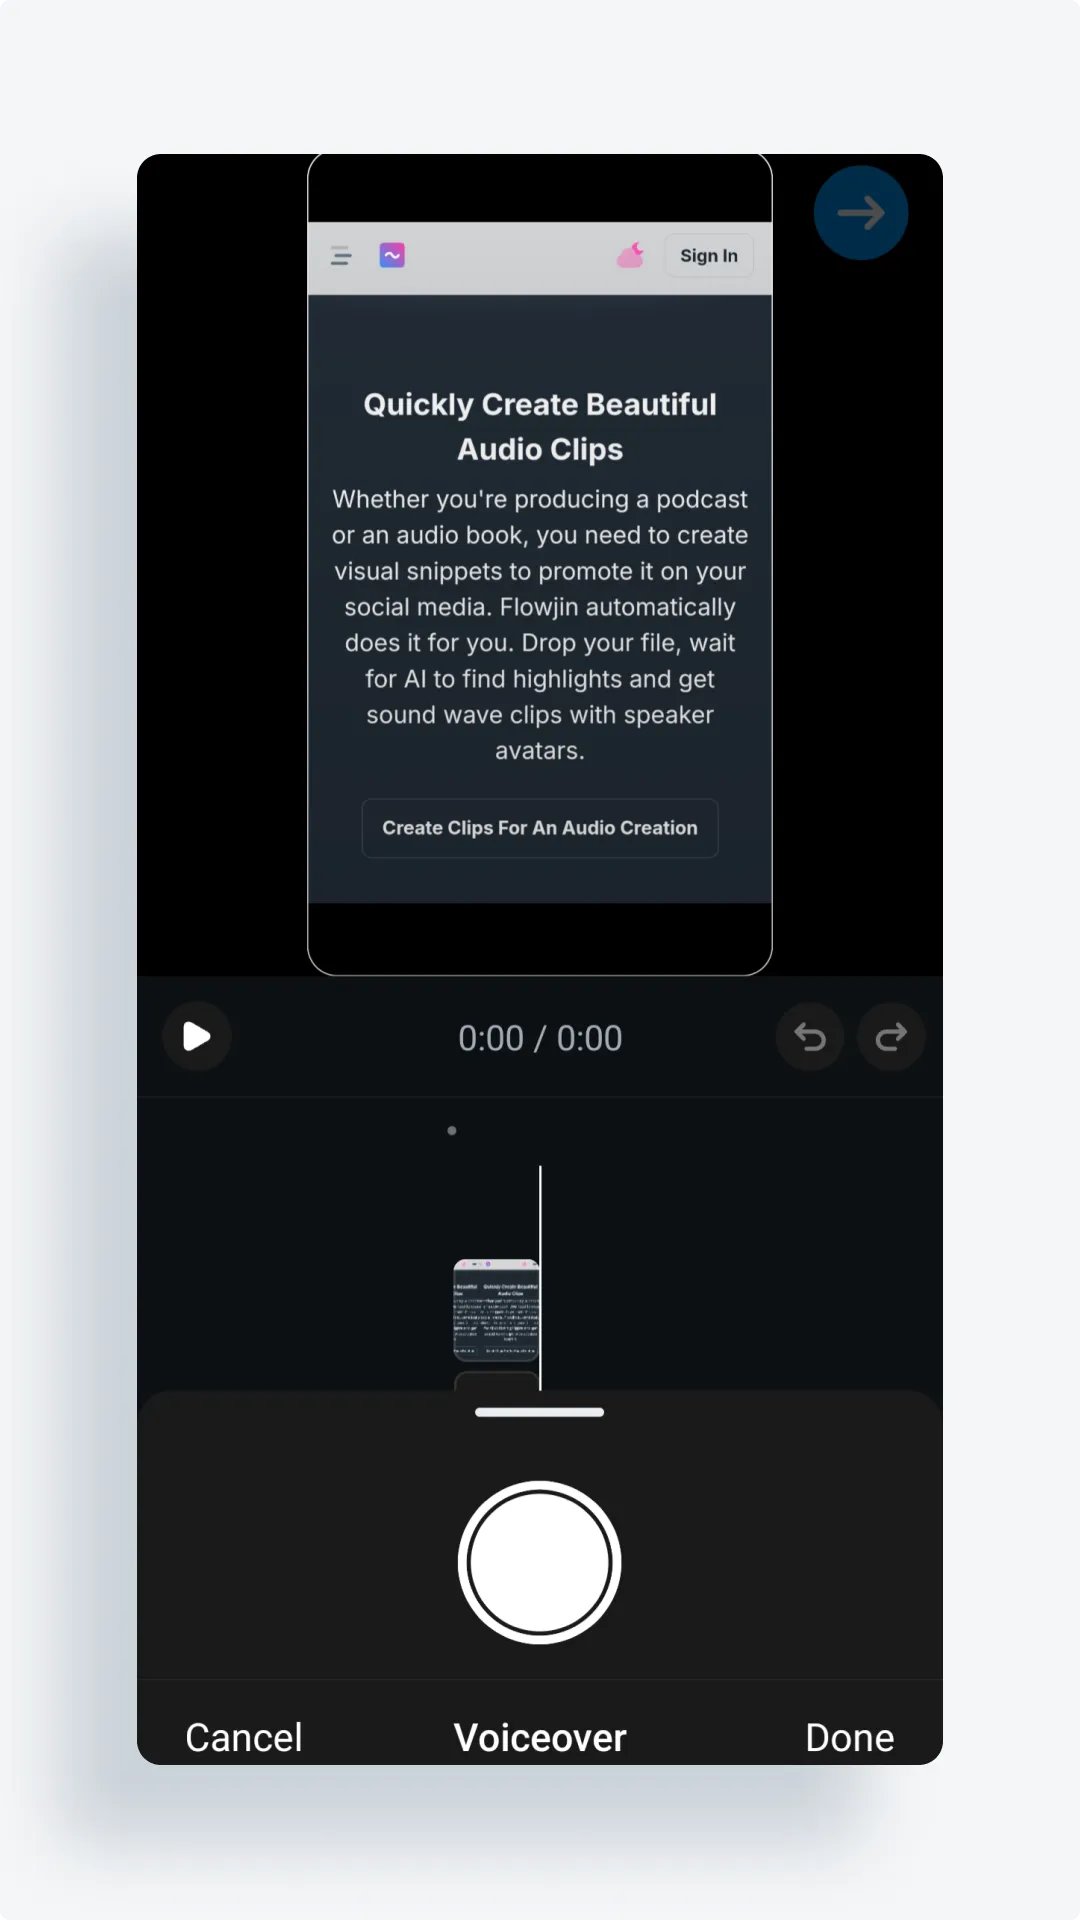
- Voiceover: Tap the Microphone icon to add your own audio.
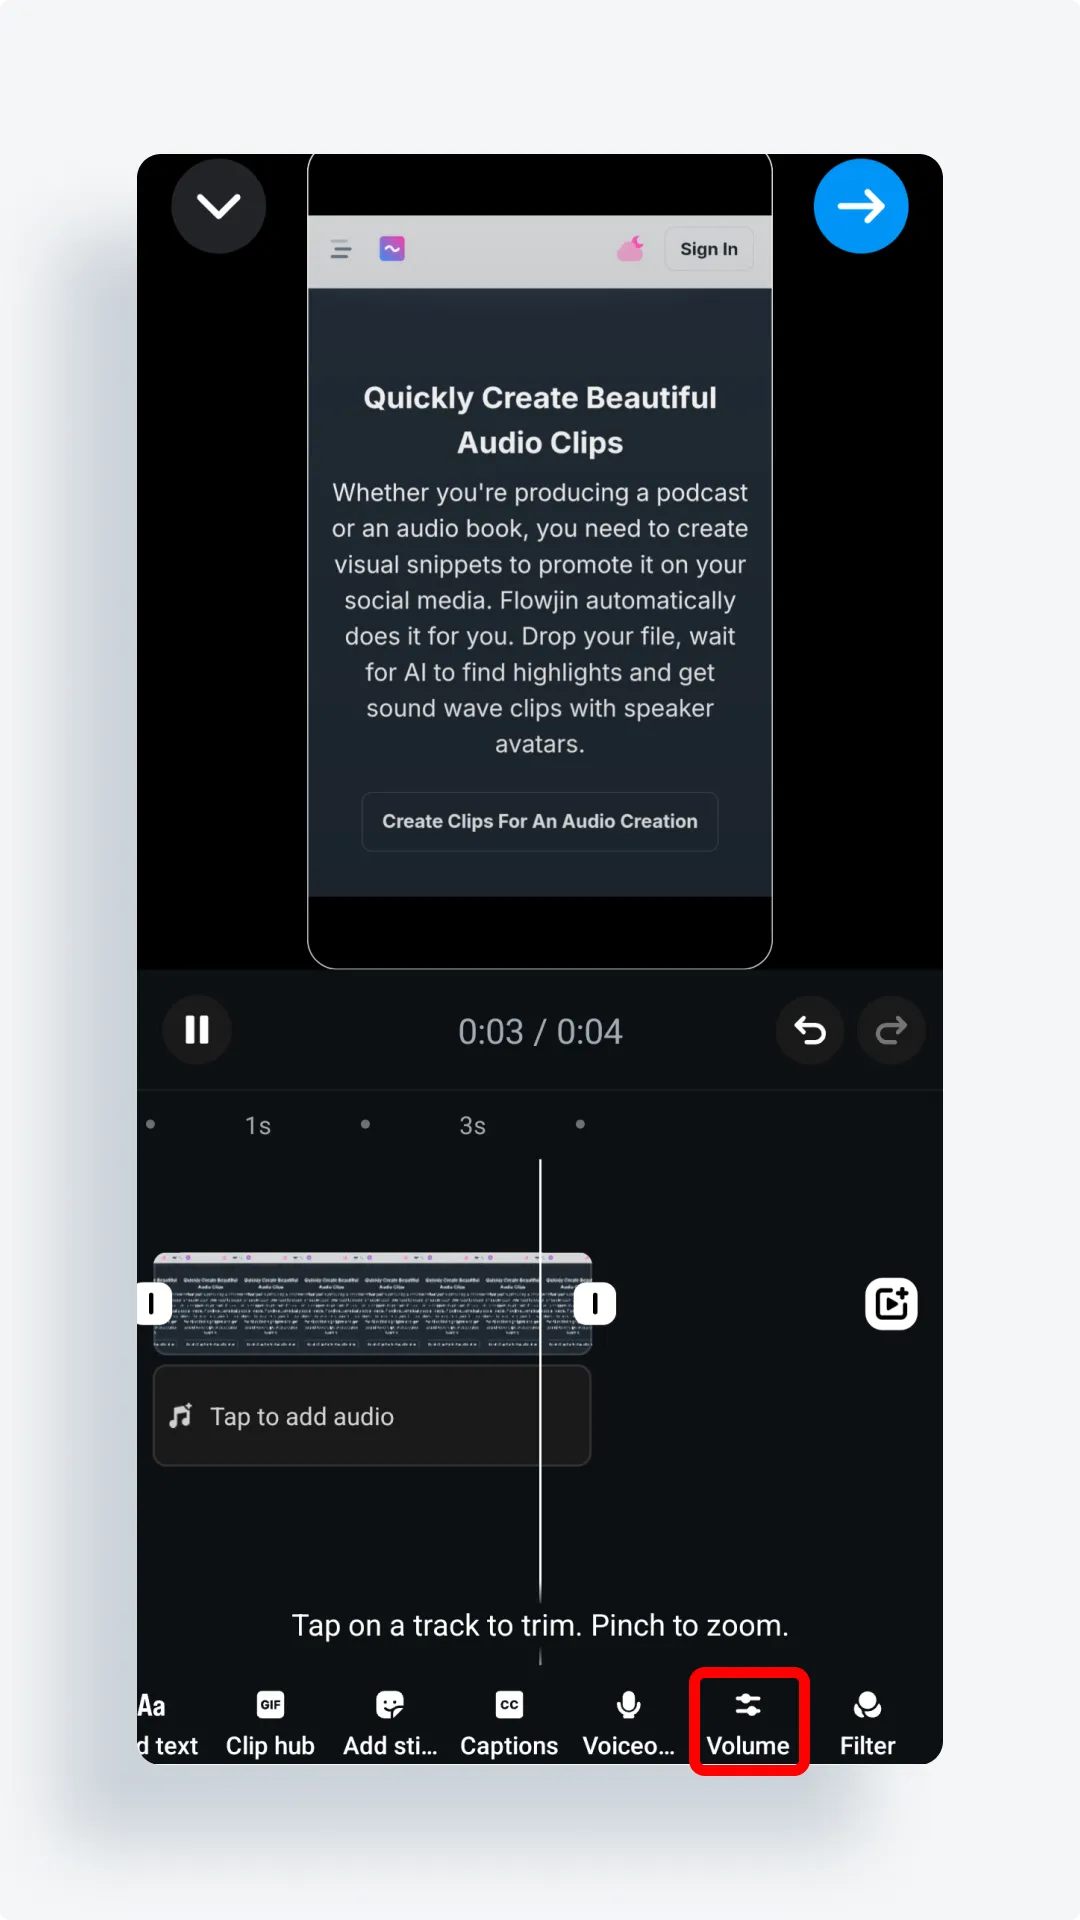
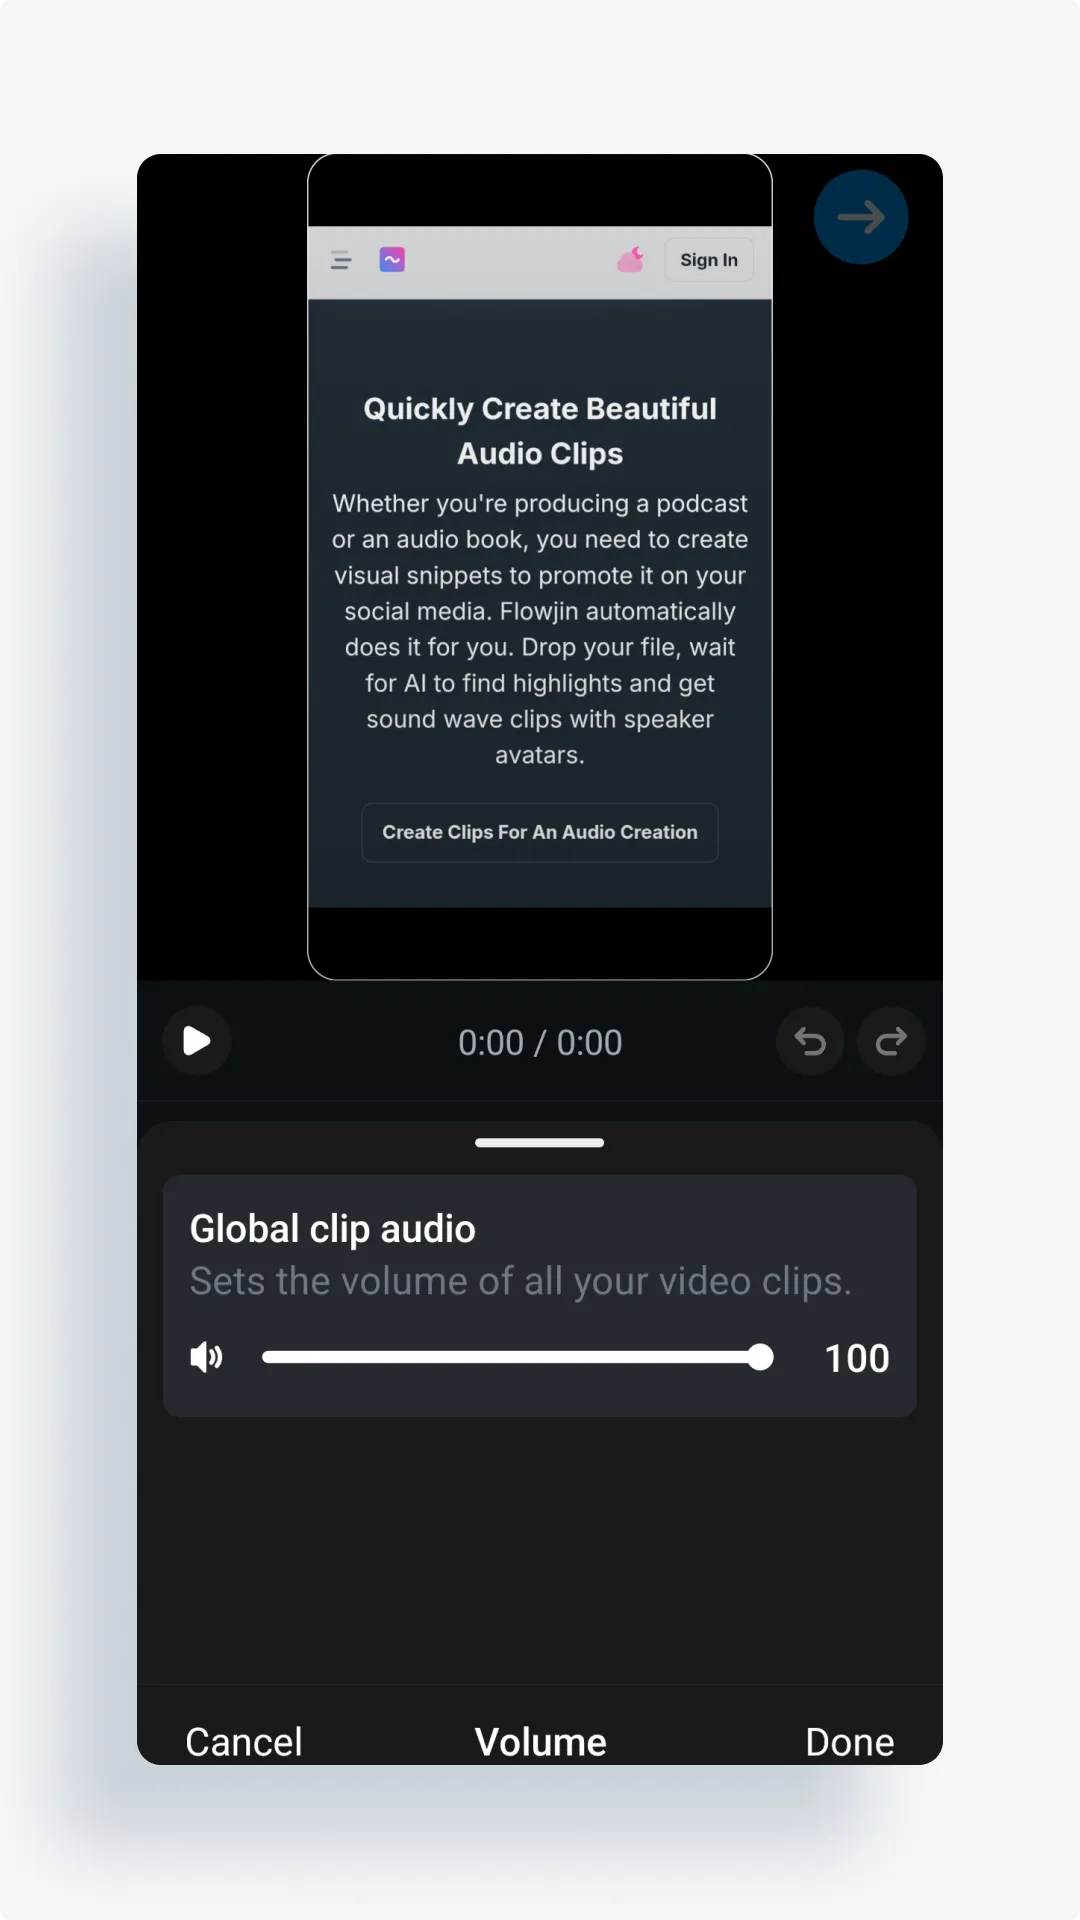
- Clip Volume: Tap the Slider button to adjust the loudness of all clips.
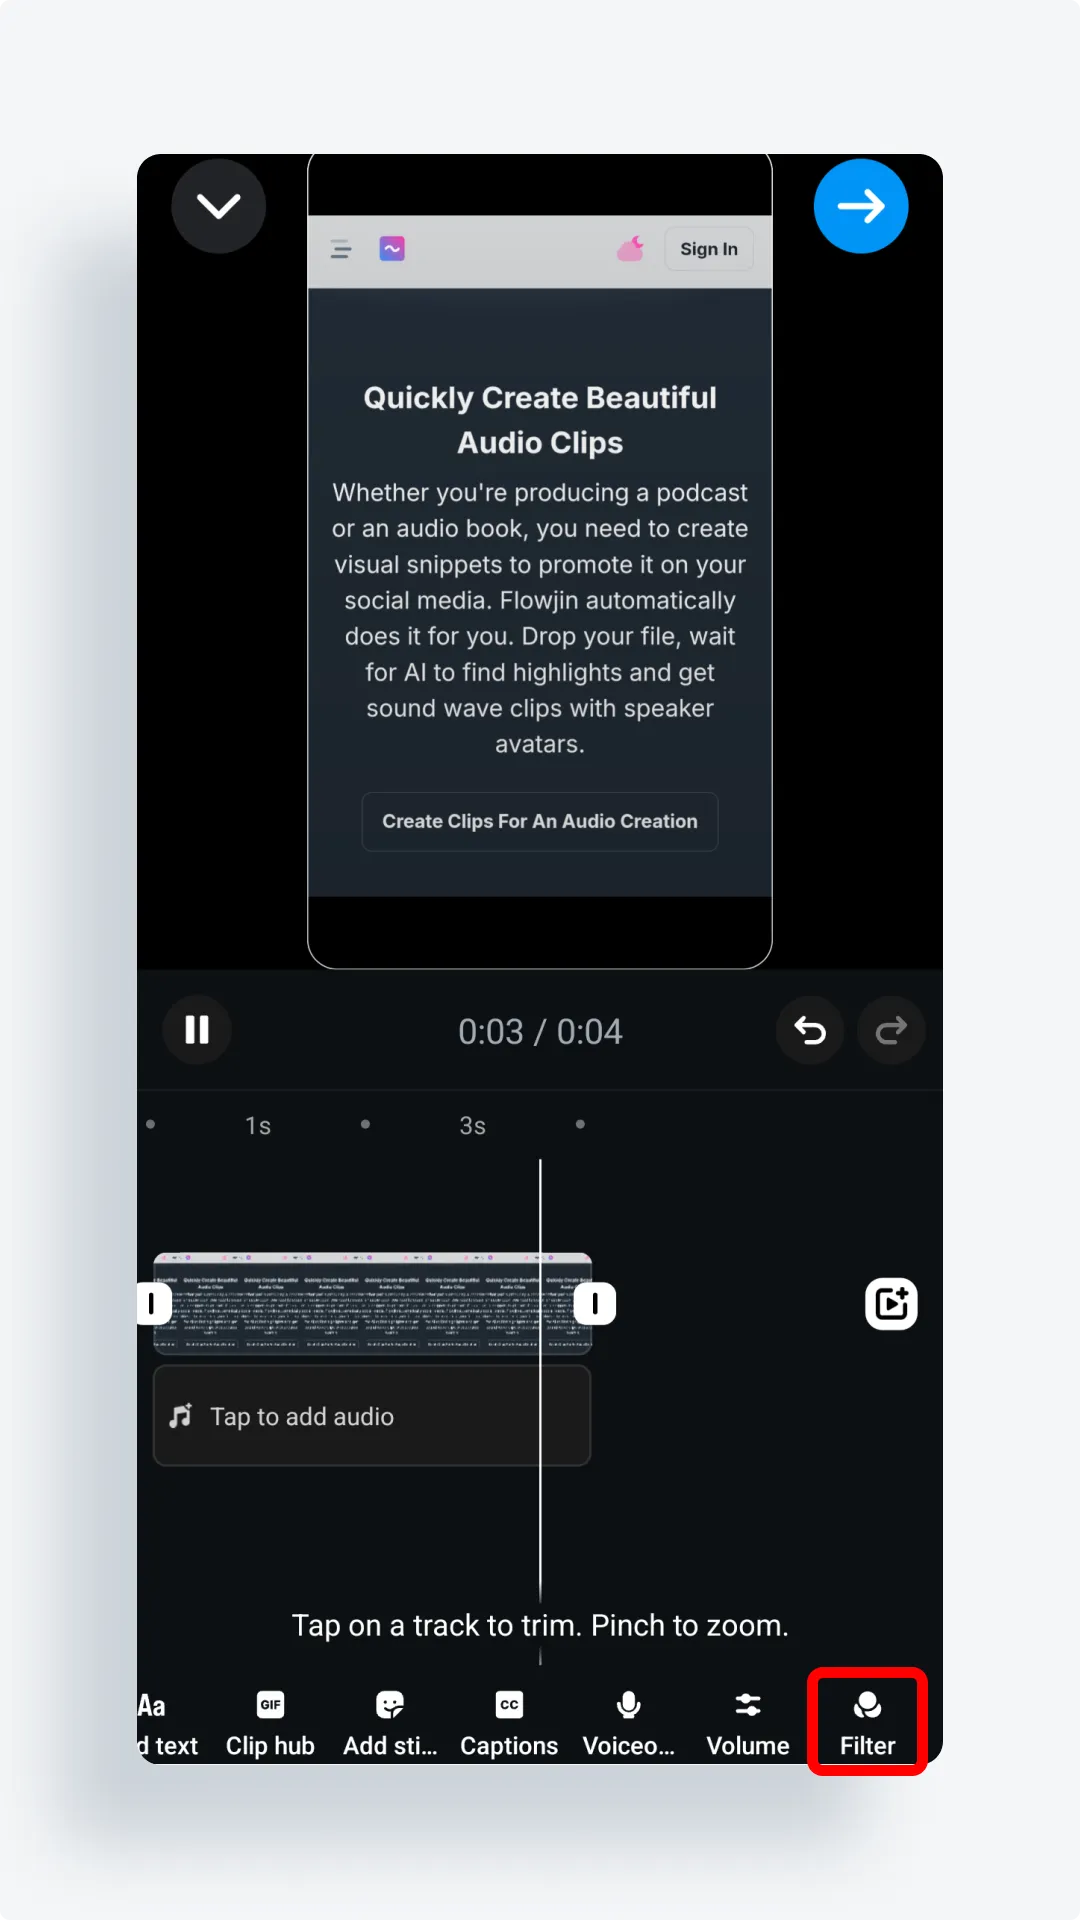
- Effects: Tap the Filter button to select from a library of visual effects.

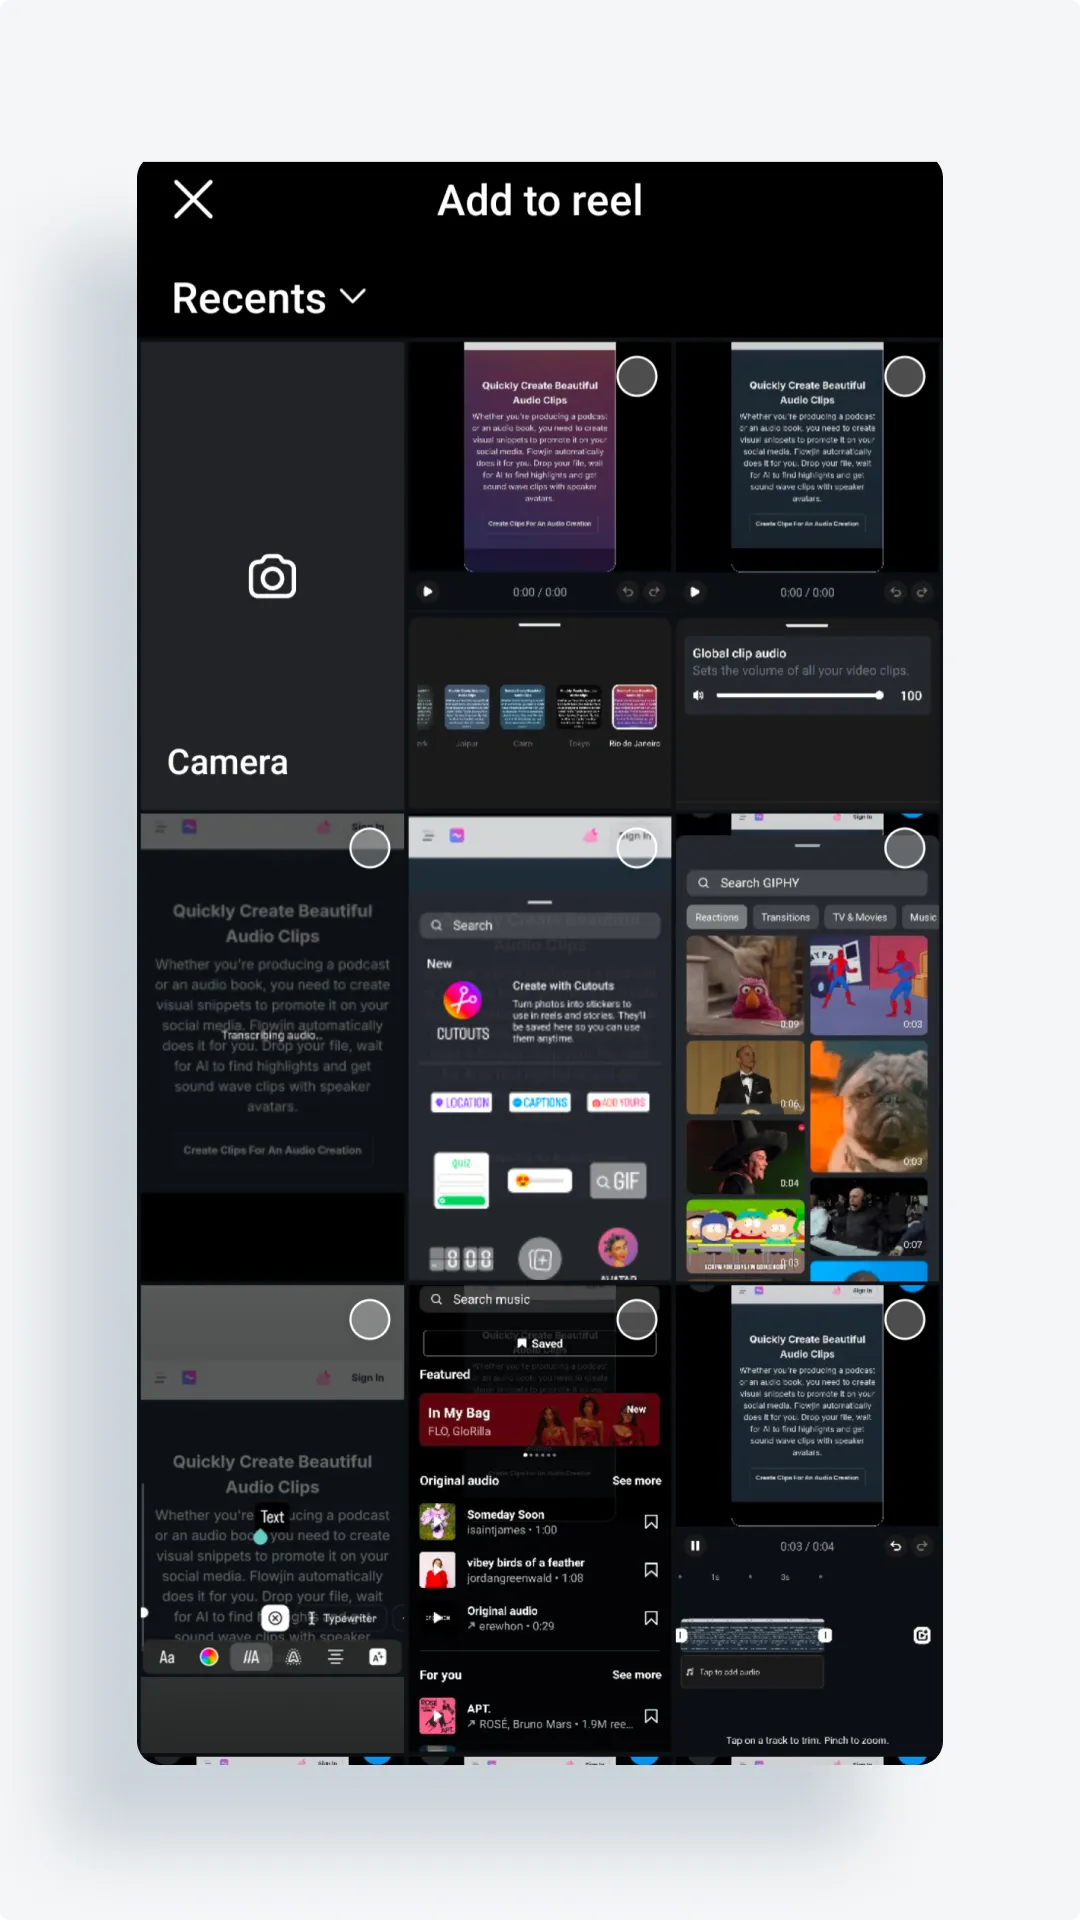
- Import Media: Select the video icon beside your clip to add a new clip or image to your Reel.

How to edit Instagram Stories
Instagram Stories are temporary, 24-hour posts in a vertical (9:16) format. What’s different about Stories is personal and interactive options like stickers and polls. Content creators often use stories for quick updates and exclusive content. This format is for you if you want to share a short-form video for a limited time.
To access the Instagram Stories editor:
- Open the Instagram app and tap the "+" icon at the bottom of your screen.
- Slide to “Story” and choose a video from your camera roll.
- Tap the dropdown arrow on the left to see all editing options for your Story:
- Create: Tap the Aa icon to add text boxes. You can also access tools like Shoutouts, Stickers & GIFs here.
- Shoutouts: Tap the speech bubble icon to mention an Instagram user.
- Stickers: Tap the smiley icon to add media.
- GIF: Tap the GIF icon to add GIFs directly on a Story.
- Layout: Tap the grid icon to add augmented reality effects (like virtual makeup).
- Filters and Effects: Swipe left or right to apply filters or tap the sparkle icon at the top for effect options.
- Create: Tap the Aa icon to add text boxes. You can also access tools like Shoutouts, Stickers & GIFs here.
- Once you’re happy with the text and visuals of your Story, tap “Next” for the following options:
- Shapes and Highlights: Use the highlighted circle icon to add background color or shapes behind text or other elements.
- Text: Tap the Aa icon to change the font, colour, alignment or add transitions and effects.
- Music: Tap the music note icon to select from a list of songs.
- Draw: Open the 3 dots icon → pen icon to doodle on your Story.
How to edit on Instagram Live
Instagram Live allows users to stream videos in real-time, where followers can comment and react during broadcasts. Typical content includes live events, Q&As or behind-the-scenes moments. This format is for you if you want to connect with your audience through interactive content
Instagram Live cannot be edited as they are not pre-recorded videos, but there are ways to make Lives visually appealing:
- Filters & Effects: Face and overlay effects can enhance appearance. ****Tap the **sparkle icon** on the screen to apply.
- Interactive elements: You can add Q&A features, pin comments or invite guests. Tap the comment you want to pin or on “Invite” to access these features.
With Flowjin, you can repurpose your live sessions into eye-catching clips for Instagram Reels, Stories, and other social platforms.
How to edit videos for Instagram Feed
Videos on Instagram Feed are permanent posts displayed across Instagram profiles and feeds. They can be up to 10 minutes long and include captions and tags. Content creators rarely post videos to feed due to higher reach from Reels and Stories however, this format is ideal for sharing informative or creative long-form content.
To access the Instagram video editor:
- Open the Instagram app and tap the "+" icon at the bottom of your screen.
- Select a photo or video from your gallery (max. 10), or capture a new one directly through the app.
- Instagram will then take you to the editing screen with the following options:
- Filters: Choose from a list of filters by swiping right. Tap to adjust filter intensity.
- Edit: Manually adjust settings like brightness, contrast, saturation, warmth, and sharpness
Top video editors for content creators on Instagram
Instagram’s built-in editor is limited in its customization features.
Want to personalize your Instagram content? You need advanced video editing apps for creative freedom.
If you don’t know how to edit Instagram videos without breaking the bank on pricey software, these tools are a budget-friendly way to level up your Instagram Reels and Stories.
Flowjin
Flowjin is perfect for transforming your longer videos into engaging Instagram Reels seamlessly.
On Flowjin, you can either edit and caption a video manually or let the AI split a longer video into clips. In this guide, we’ll dive deeper into the first option— editing and captioning your video.
Flowjin makes video editing easy with features like automatic captioning, easy video trimming, and customizable text, helping you create polished content without the hassle.
Here's how it works:
- Go to Flowjin and register.
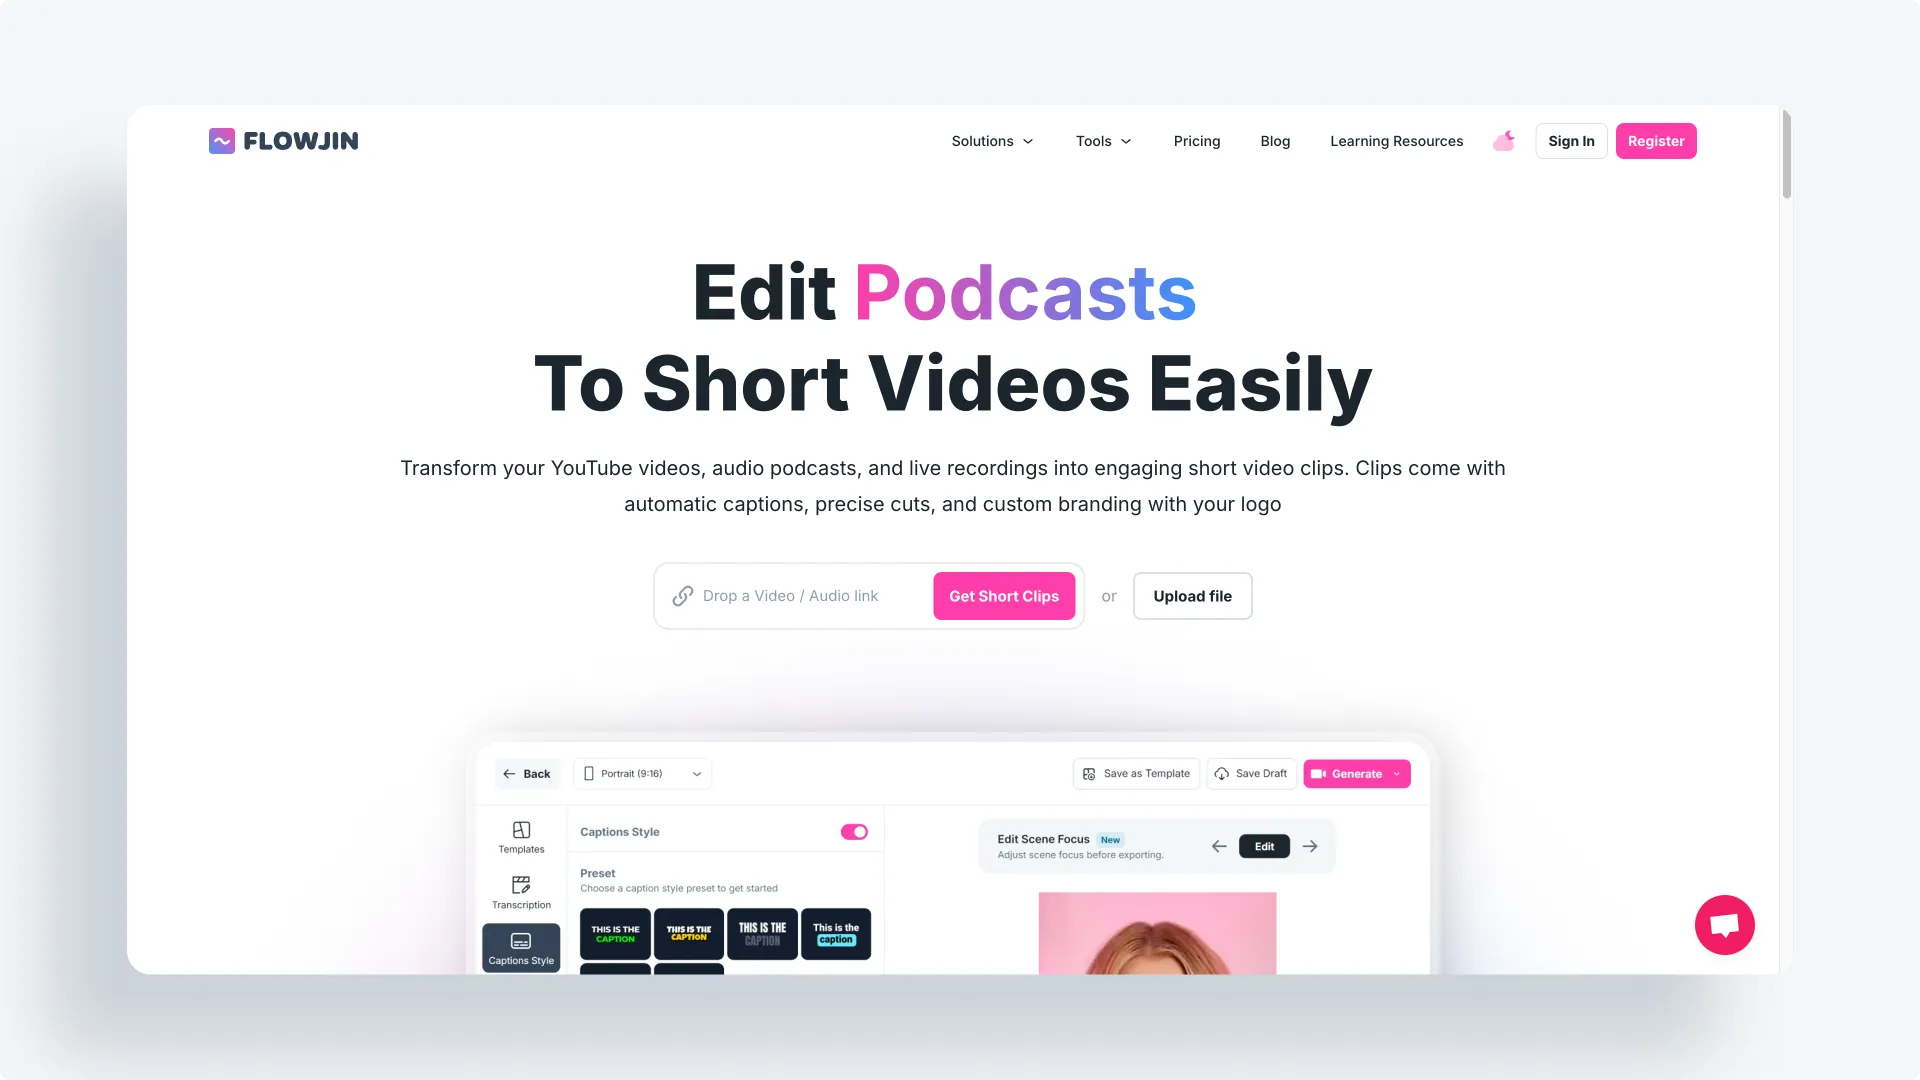
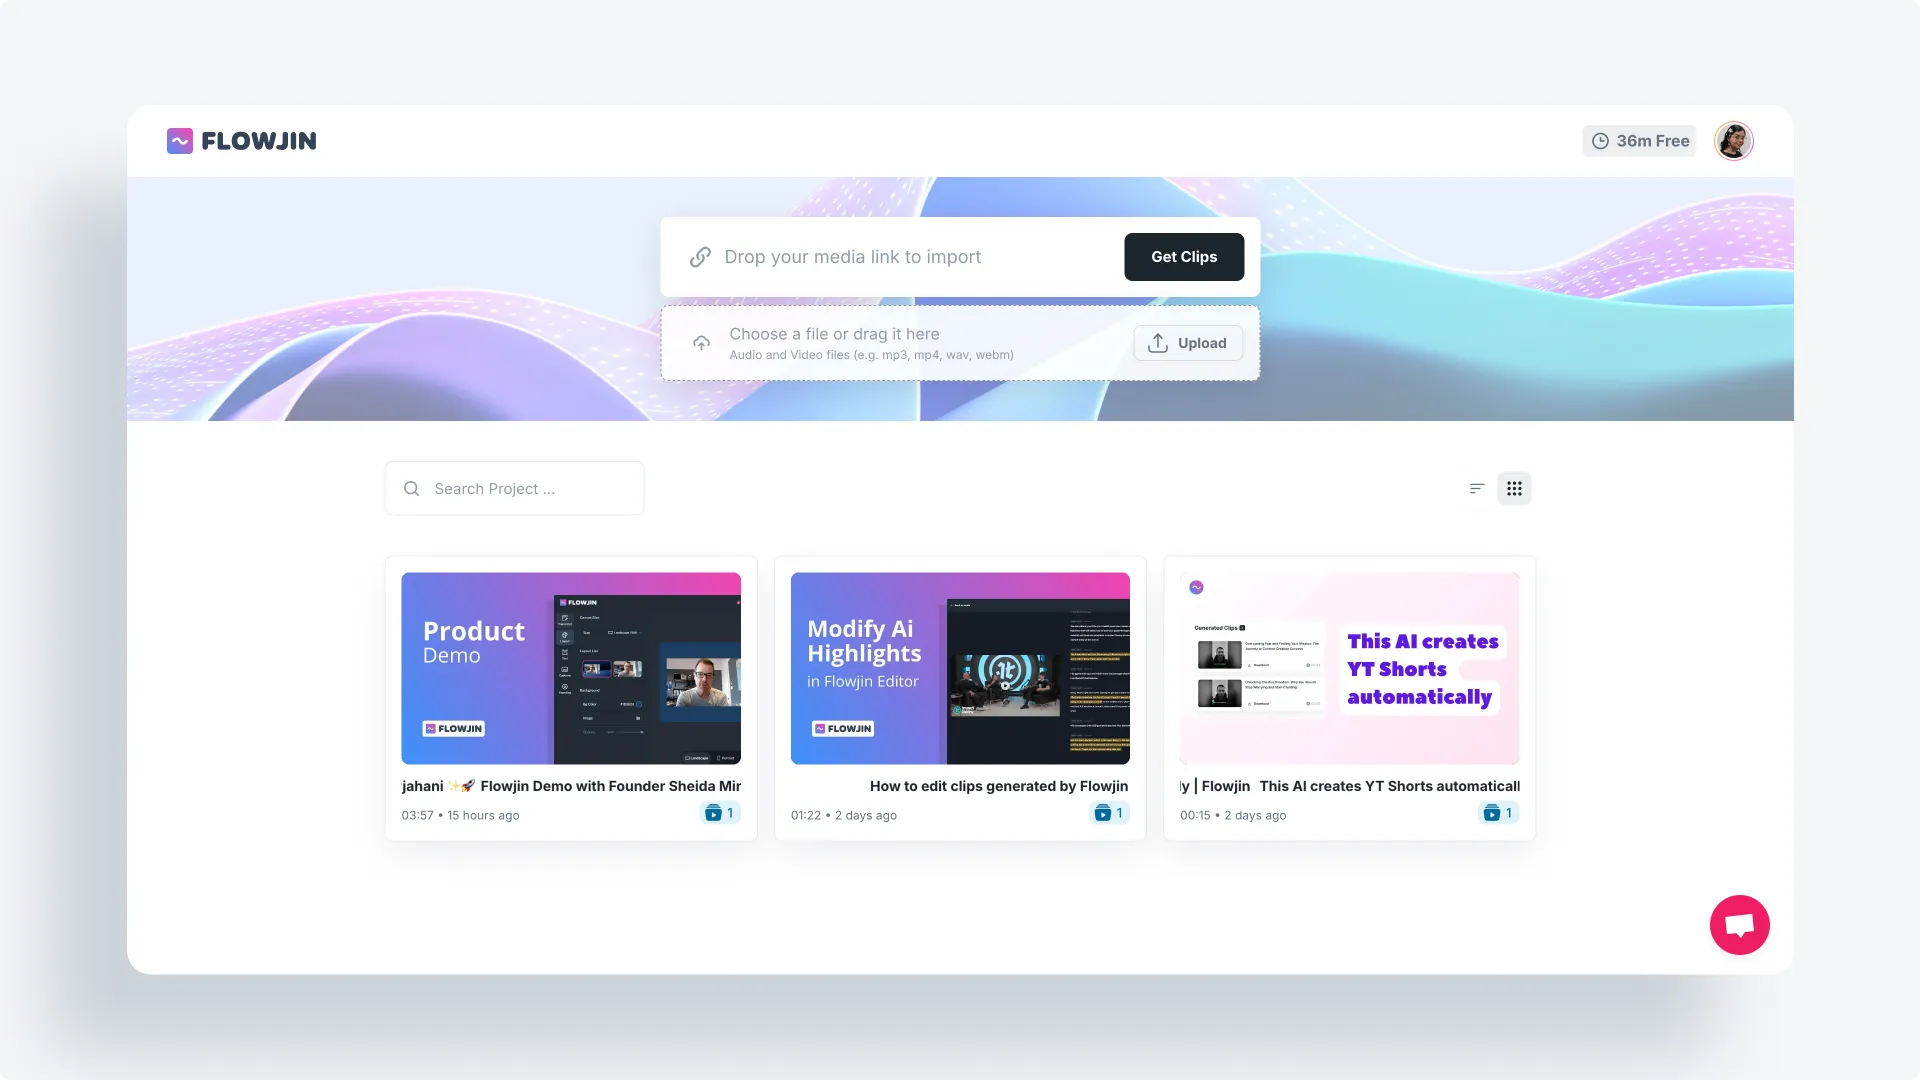
- Drop a video link or upload a video — don’t worry about size, our AI face detection resizes videos for Reels & Story!
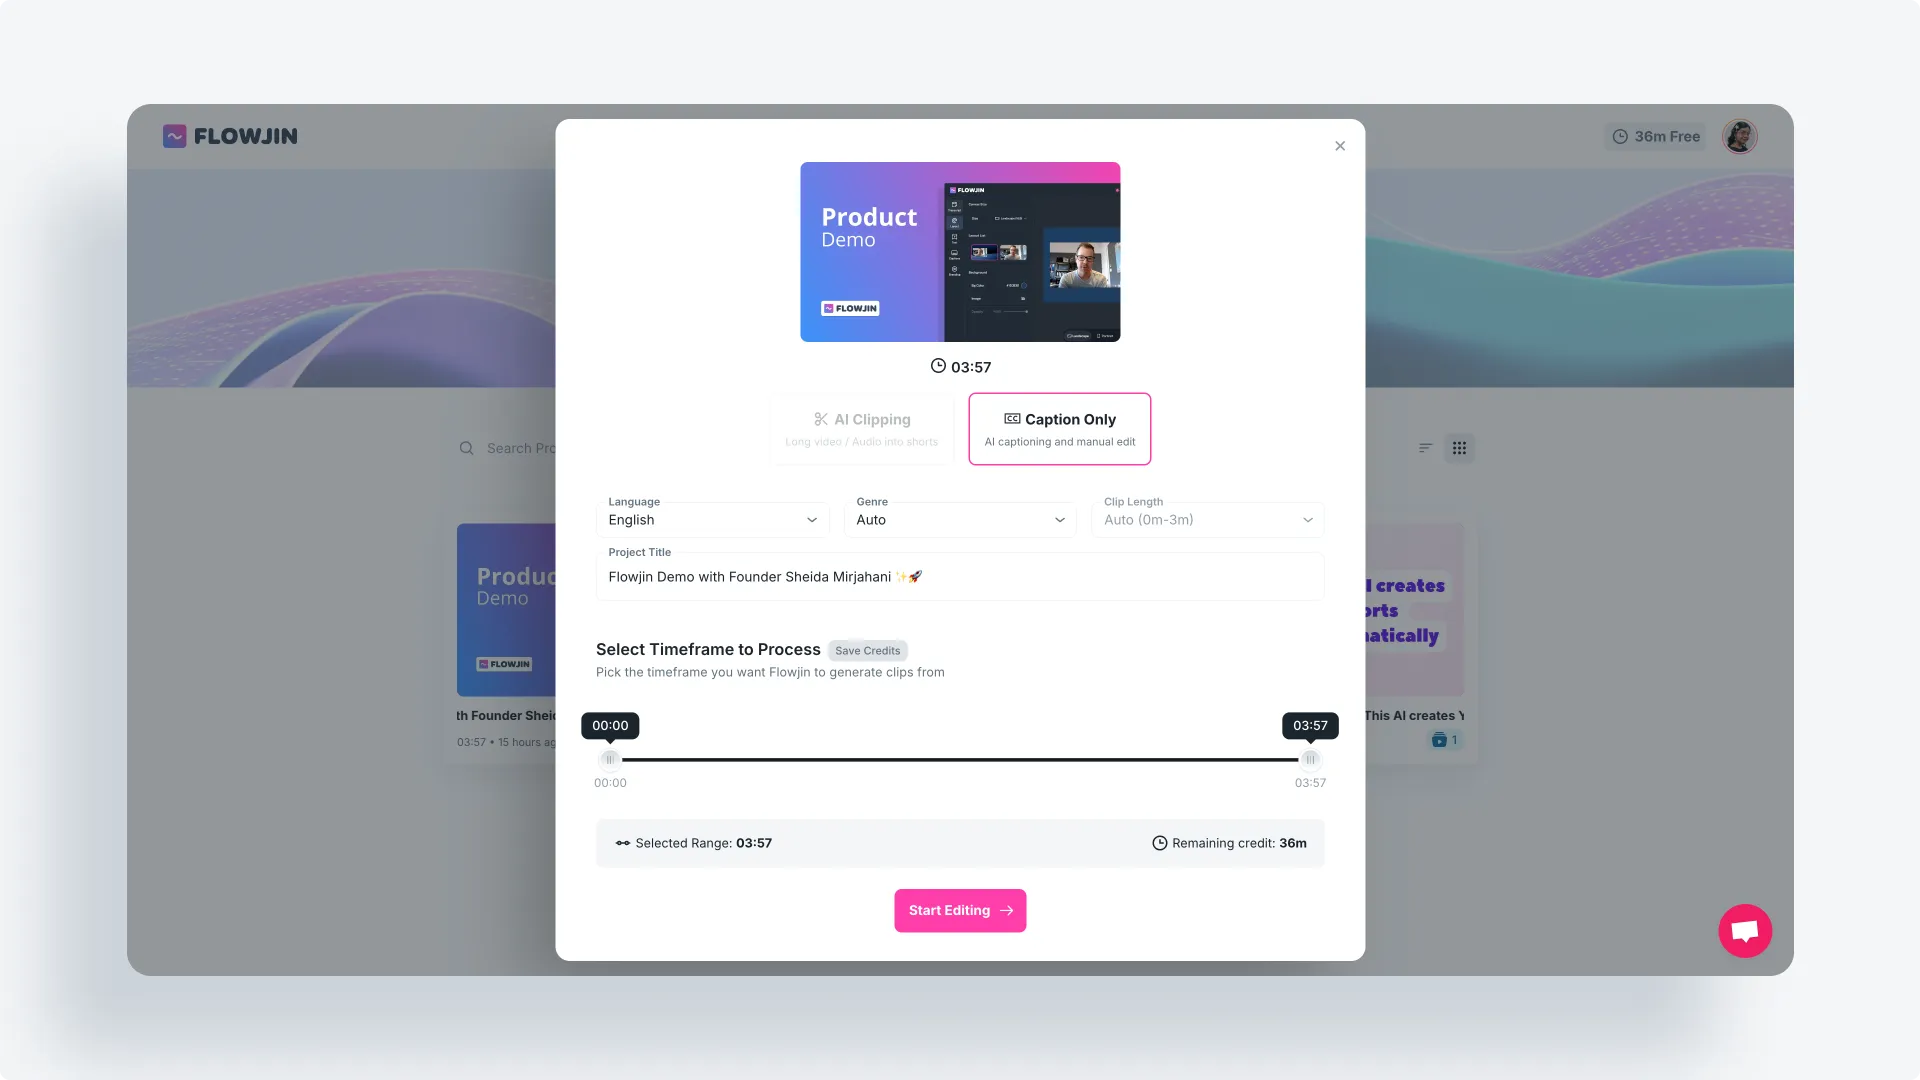
- Next, select “caption only” to add captions to your clip. Then choose which part of the video you want Flowjin to create clips with
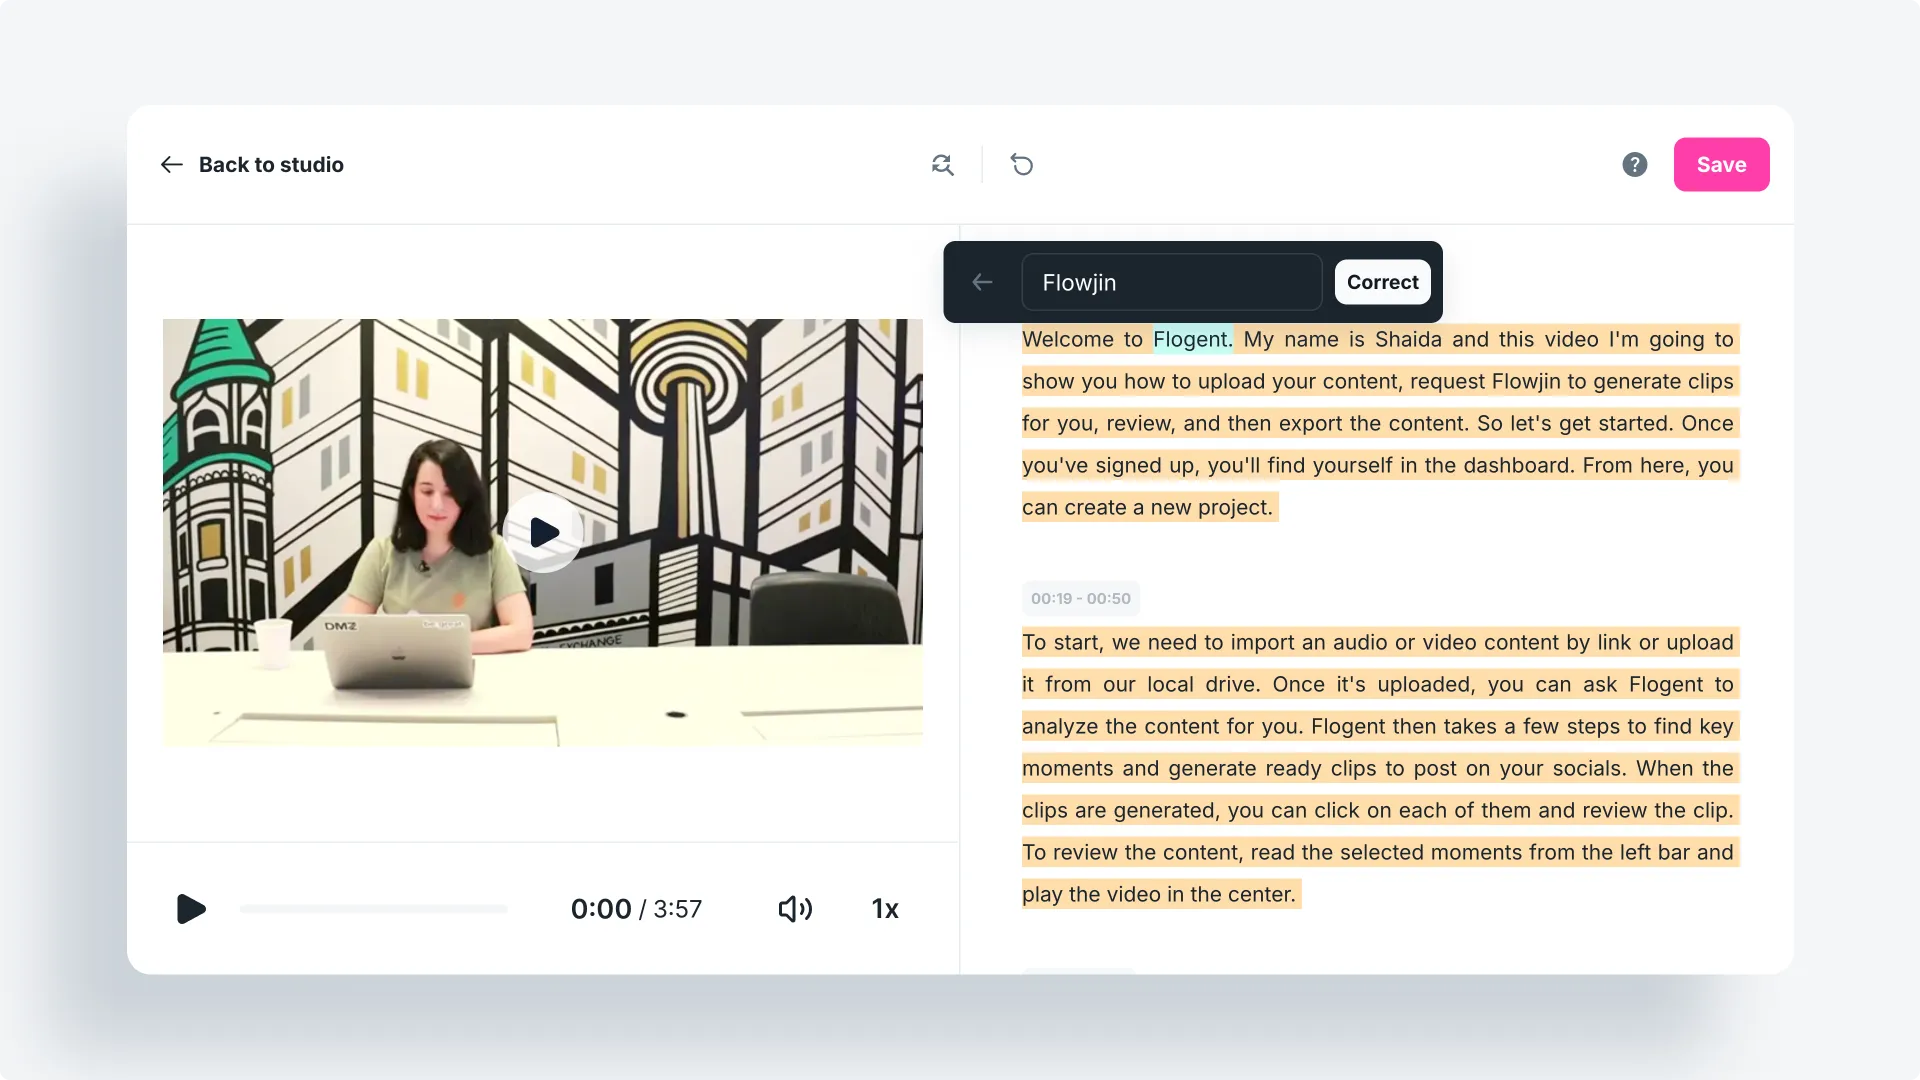
- After processing you have access to editing options on Flowjin Studio:
- Captions: Style your video with pre-set caption templates or make your own! You can save your captions style as a template for later.

- Edit Video by Transcript: Select “Transcription” to correct words or remove them from the clip
- Adjust Focus: Select “Edit Scene Focus” to zoom in/out on your clip
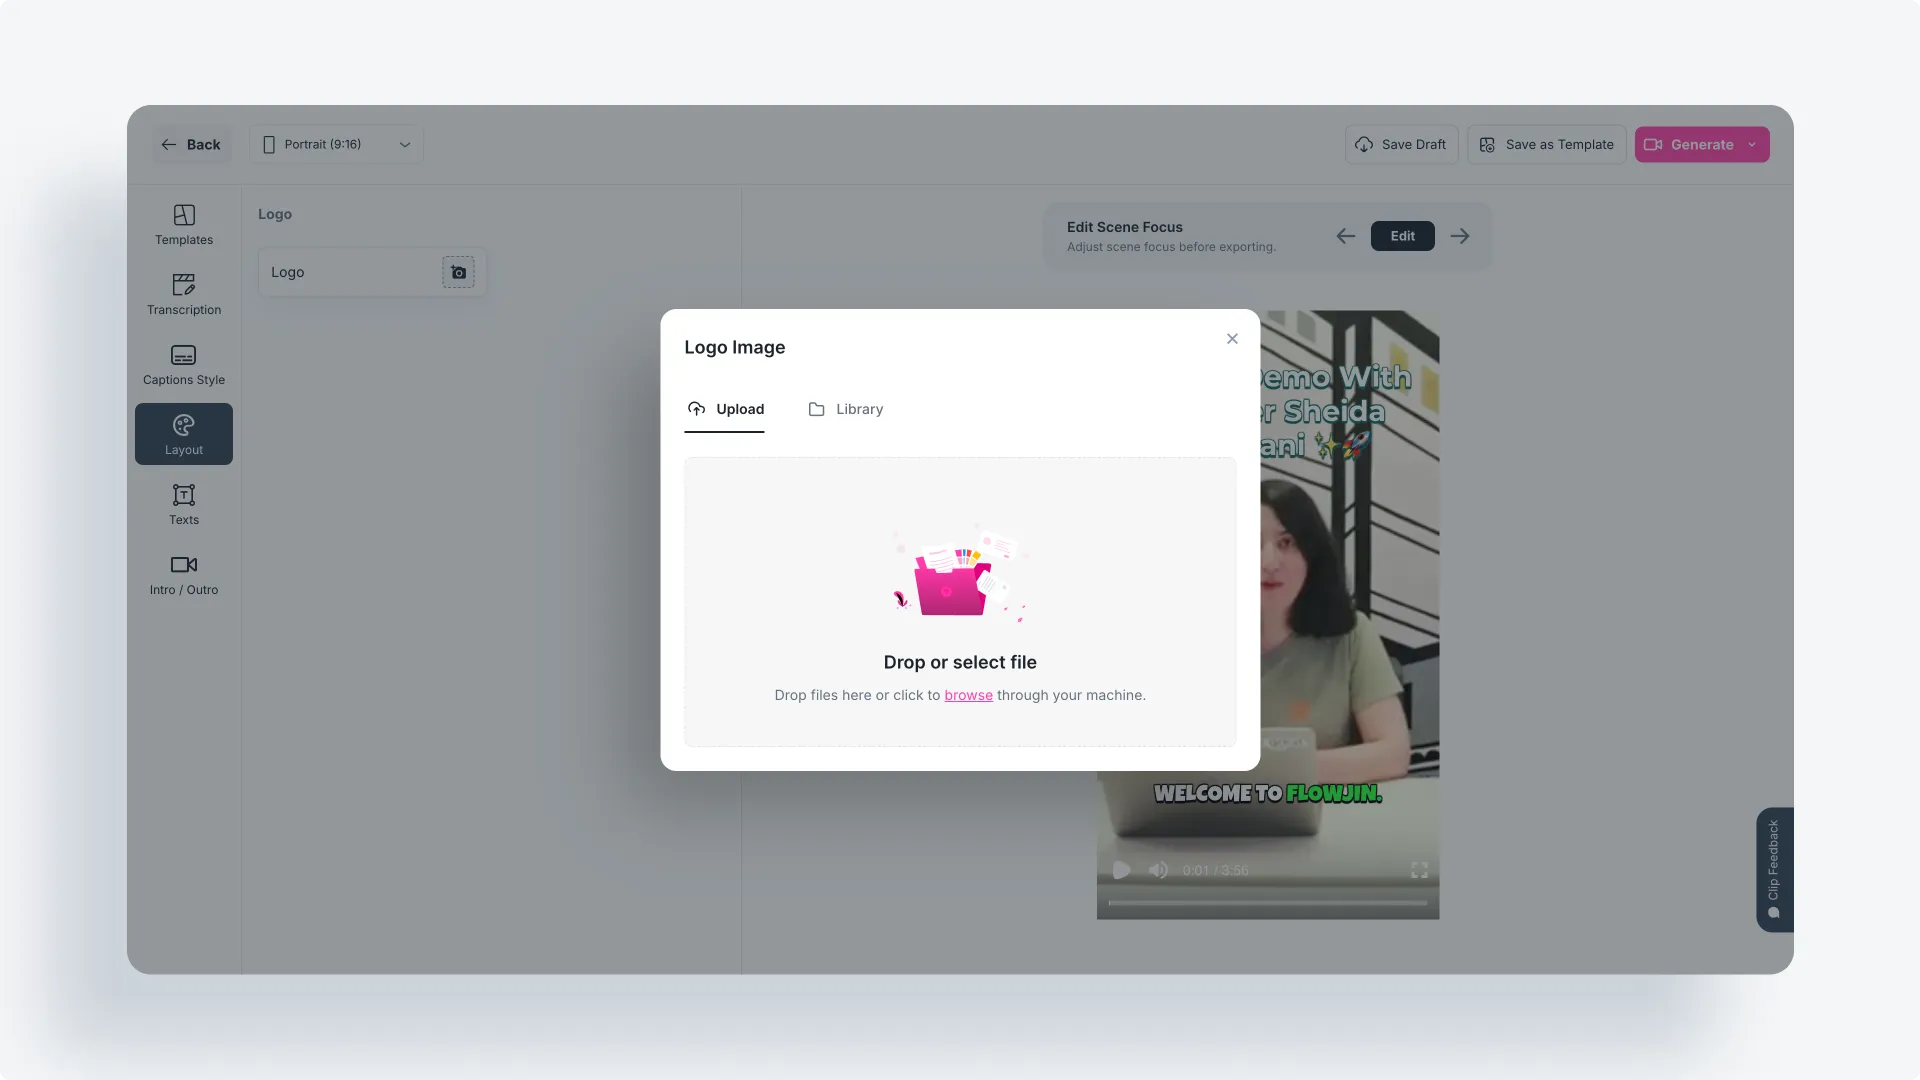
- Add a Logo: Select “Layout” to upload your logo.
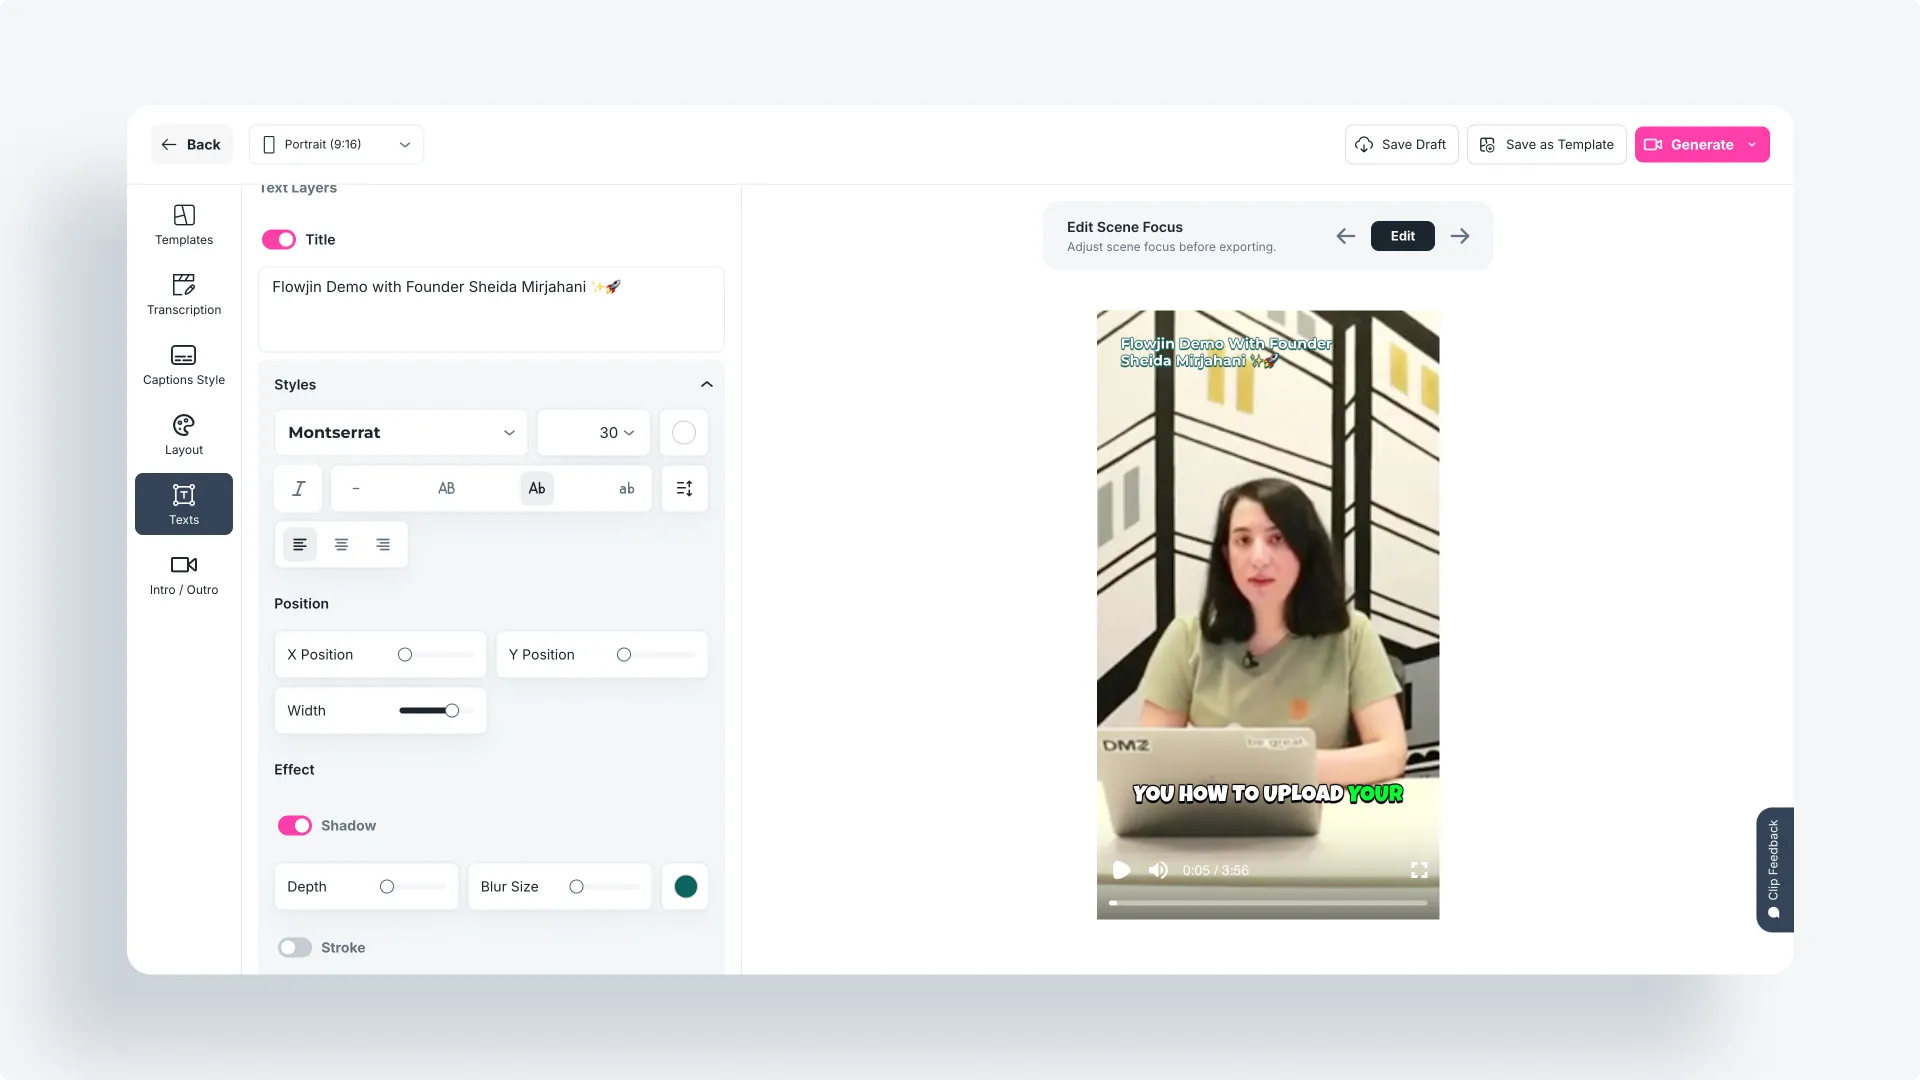
- Add Text: Select “Texts” to add a text box to your video and choose a style.
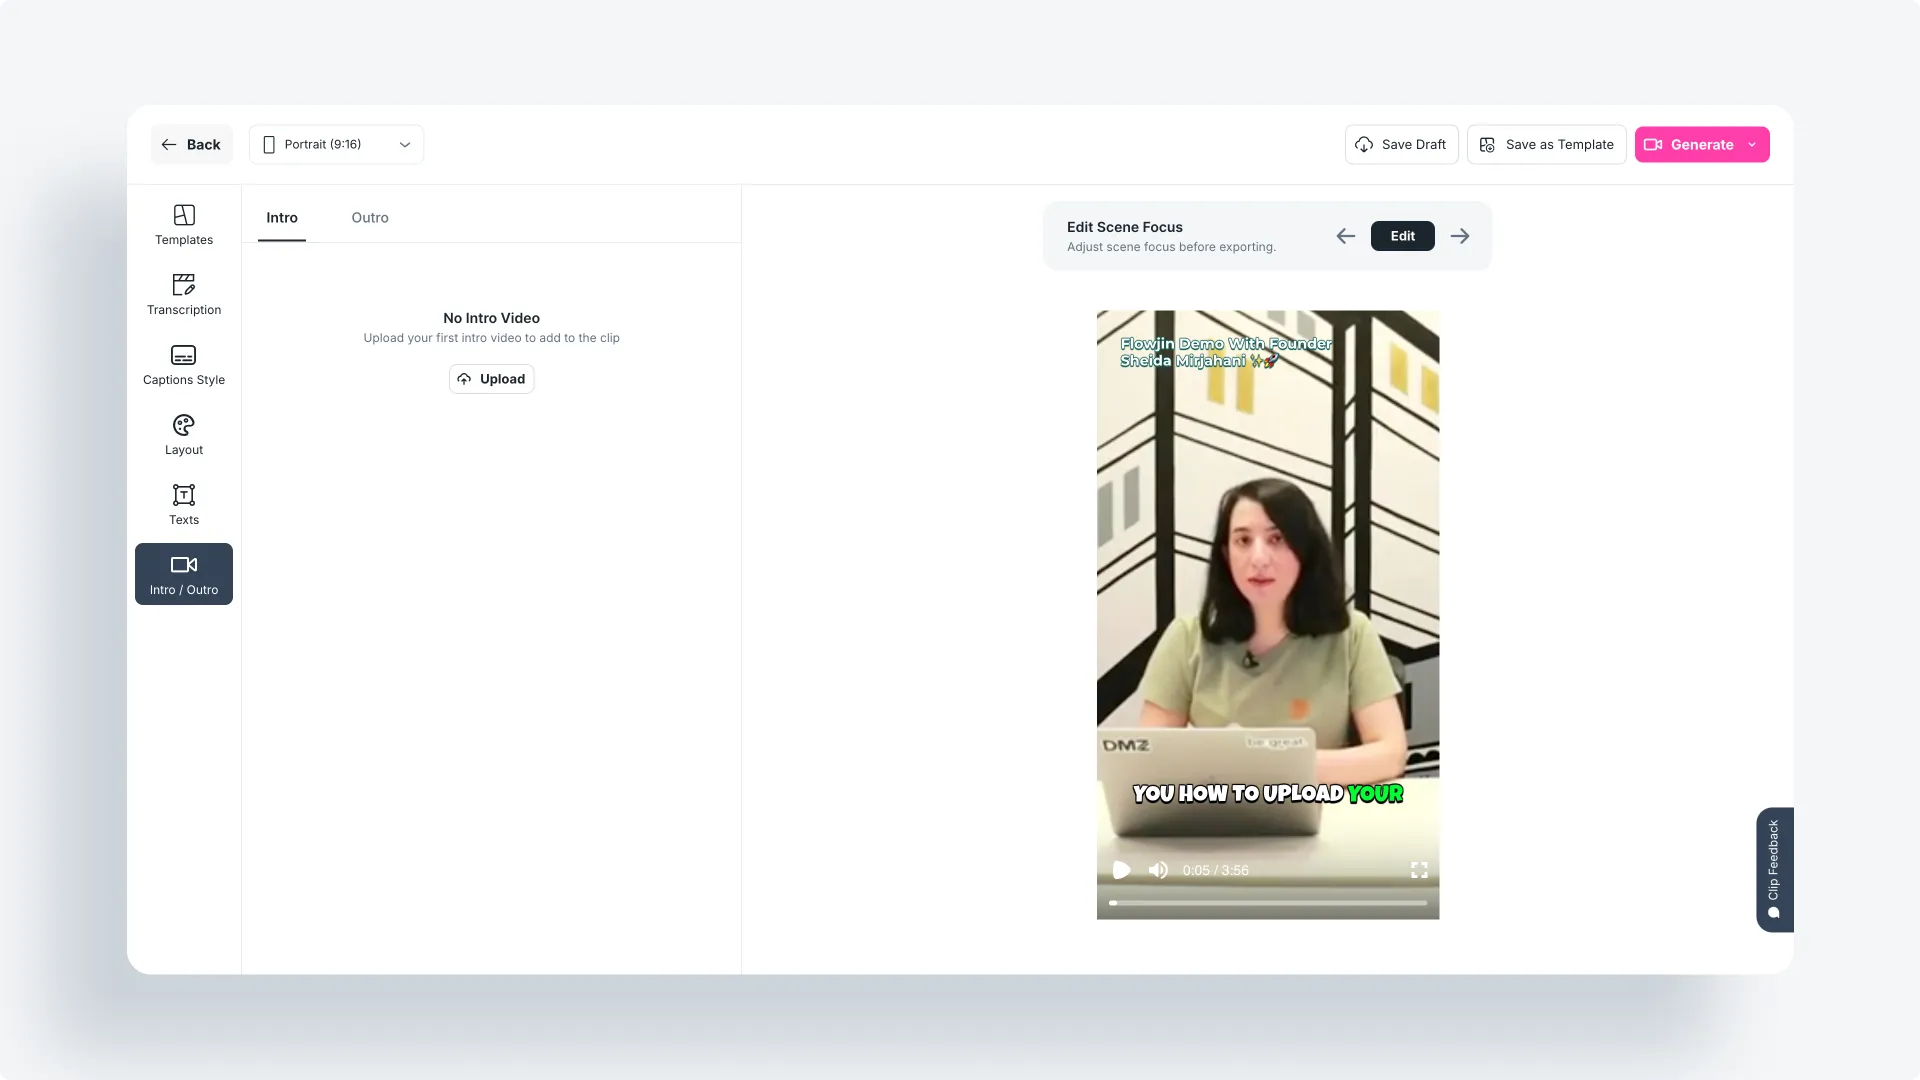
- Add an Intro/Outro: Select “Intro / Outro” to add another clip to the starting / ending.
- To use your edits for later, choose either “save draft” or “save as template”. Or, hit generate and your clip is ready for Instagram!
InShot
- Best For: Creators who want a user-friendly editing app tailored to Instagram.
- How to Use:
- Import Your Video: Tap "Video" and select from your gallery.
- Trim and Cut: Use the timeline to cut out unwanted sections or trim video length.
- Music or Sound Effects: Tap the "Music" icon to add tracks, sound effects, or record a voiceover.
- Filters and Effects: Tap the “Filters” button to access a list of visual effects.
- Shortcomings: Watermarks and ads on the free version. More tools locked behind the paid version.
Splice
- Best For: Creators who want advanced features for editing videos on mobile.
- How to Use:
- Start a New Project: Tap the “+” icon and select your video.
- Trim and Cut: Use the timeline to cut, trim or rearrange clips.
- Music: Choose a track from Splice’s library, upload your own or record voice lines.
- Filters and Effects: Enhance your video with transitions, effects, or colour filters.
- Text: Tap the “Text” tool to insert captions, titles, or fun text overlays.
- Adjust Size for Instagram: Select an aspect ratio — such as 9:16 for Reels or Stories.
- Shortcomings: Lacks functionality of desktop video editors.
Canva
- Best For: Variety of templates for multi-footage videos.
- How to Use:
- Pre-made Templates: Search for “Instagram video” for correctly-size templates that match your style.
- Import Media: Add your videos OR photos by clicking “Uploads” and selecting from your device.
- Design: Drag and drop design elements
- Trim and Animate: Trim clips, adjust timing or apply animations to text and visuals.
- Music or Voiceovers: Choose from Canva’s music library or upload your own audio.
- Shortcomings: Less advanced features than other video editing software
Try Flowjin to multiply videos to reels instantly
If you have TONS of content but want to save time preparing them for 1-minute reels, try Flowjin.
You can upload longer content. This includes podcast footage, branded videos, webinars, and more.
Flowjin extracts the most impactful moments ready as reels for you to download. You can refine them in our studio in minutes! 📹


